Start by defining scope, budget, and ROI, then confirm Permitted Development or a Householder application with plans. Prioritize light, flow, and function; target a 2–5% Daylight Factor, control glare, and specify NFRC-rated low‑e glazing with defined U‑factors/SHGC. Align massing and materials with your home and codes. Set structural loads, moisture control, and tolerances. Establish IECC/ASHRAE 90.1 energy targets, right-size HVAC, and plan procurement, inspections, and critical path. You’ll see how to achieve this safely next.
Key Takeaways
- Define scope, budget, and ROI; assess value uplift versus costs; confirm planning route (Permitted Development or application) and prepare required documents.
- Design for light, flow, and flexible multi-use space; target 2–5% daylight factor, control glare, and align with neighborhood character.
- Specify a high-performance envelope: U-factors, SHGC, low-e glazing, airtightness; right-size HVAC with heat recovery to cut running costs and boost value.
- Ensure compliance and quality: structural loads, egress, materials standards, and moisture management; document approvals and set measurable performance targets.
- Plan delivery with a baseline schedule, procurement lead times, work packages, inspections, and RACI; monitor variances and manage risks to avoid overruns.
Define Your Goals, Budget, and ROI
Start with three baselines: scope, budget, and ROI. Define the problem your extension solves—e.g., a larger kitchen, an extra bedroom, or flexible workspace—and translate that into functional requirements, performance criteria, and measurable success metrics. Draft a scope statement with inclusions, exclusions, and acceptance criteria. Develop a space program (areas in square feet/meters), adjacency needs, and service implications (HVAC load, lighting, storage).
Build a bottom‑up budget. Itemize design, site prep, structure, envelope, MEP systems, finishes, contingencies (10–15%), and escalation. Use recent unit costs and benchmark ranges to set a target cost per square foot/meter. Create a cash‑flow curve aligned to phases.
Model ROI. Estimate market value uplift using comparable sales and price-per-square-foot deltas. Quantify operational paybacks from energy and maintenance savings. Calculate NPV and payback using conservative scenarios and a hurdle rate. Prioritize options with the highest value-to-cost ratio, and document trade-offs to guide decisions with clear rationale.
Understand Planning Permission and Regulations
Two frameworks govern most home extensions: planning consent (land-use) and building regulations (building code). You’ll first confirm whether your scheme falls under Permitted Development; if not, you’ll submit a Householder Planning Application to the Local Planning Authority with scaled plans, elevations, a site plan, and a design statement. Check constraints: Article 4 Directions, conservation areas, listed buildings, highways visibility, overlooking/amenity, plot coverage, setback, ridge height, and flood risk. Notify adjoining owners if the Party Wall etc. Act applies. Typical determination is eight weeks.
Building Regulations approval is separate. You’ll evidence compliance on structure (Part A), fire and means of escape (B), site preparation and moisture (C), toxic/contaminants (D), sound (E), ventilation (F), hygiene/drainage (G/H), electrical safety (P), conservation of fuel and power, including U‑values, airtightness, and SAP (L), and access (M). Use competent designers and certified installers; secure inspections and completion certificates. Keep records of approvals and correspondence.
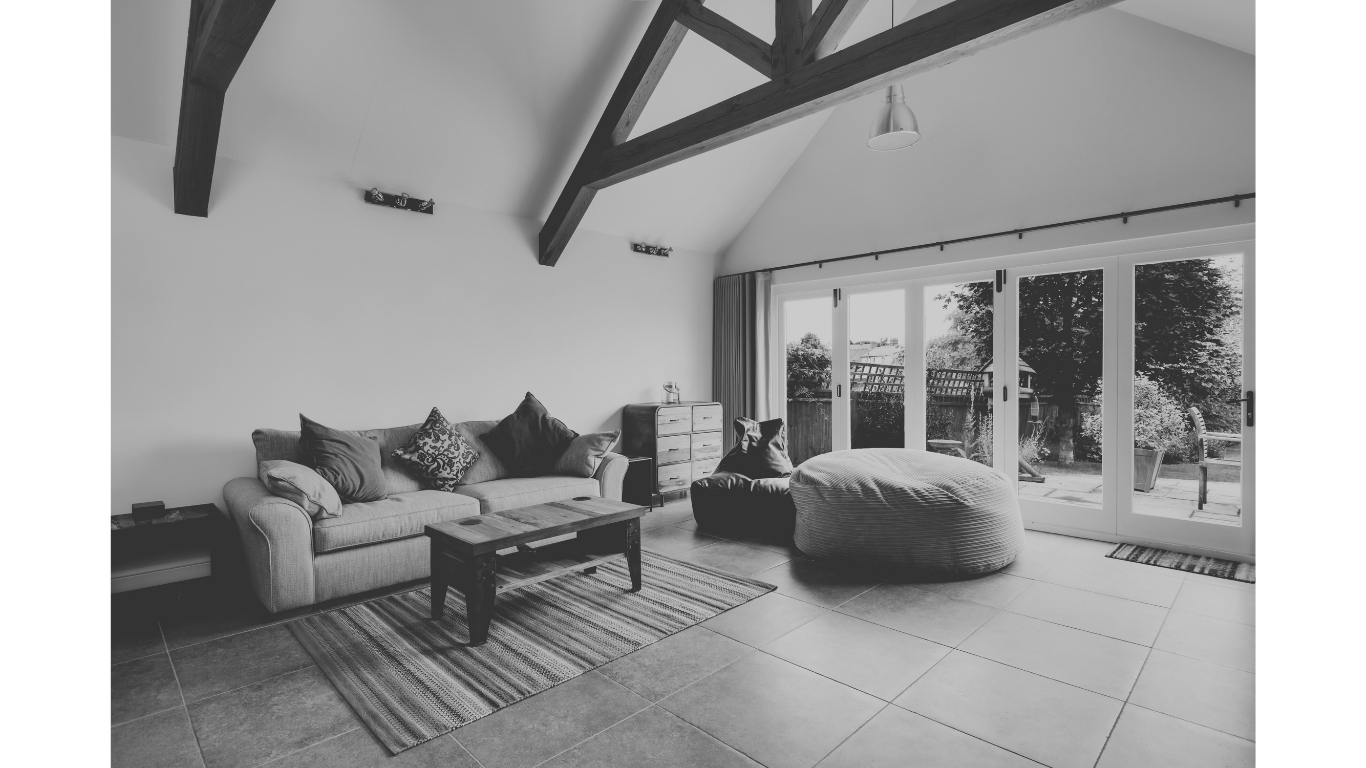
Choose a Layout That Maximizes Light, Flow, and Function
Prioritize daylighting through orientation, window-to-wall ratios, and high-performance glazing to meet U-value, solar gain, and glare limits; don’t obstruct apertures with bulkheads or deep reveals. Establish clear circulation with 900–1,200 mm routes, direct desire lines, and minimal door conflicts, separating service and social zones. Provide flexible multi-use spaces with movable partitions, modular storage, and distributed power/AV so you can reconfigure without impacting structure or MEP coordination.
Optimize Natural Daylight
While massing and structure are still flexible, organize the extension to capture and distribute daylight using recognized performance metrics and standards. Target BS EN 17037 daylight provision, LEED v4 sDA ≥55% (300 lux for ≥50% of occupied hours), and limit ASE ≤10% at 1000 lux to mitigate glare and overheating. You’ll optimize orientation and window-to-wall ratio, privileging south/east exposures with high-VLT, low-SHGC glazing, and specify reflectance ≥0.7 ceilings/≥0.5 walls.
1) Size and place apertures to achieve DF 2–5% in primary rooms; use skylights or clerestories where depth-to-height >2:1.
2) Control glare with external shading, reveal depths, light shelves; verify DGP <0.35 in task zones.
3) Balance daylight and thermal performance via U-value targets, thermal breaks, and airtightness; commission with calibrated illuminance mapping and reporting.
Clear Circulation Routes
With daylight apertures set by performance targets, organize circulation as a legible, code‑compliant network that preserves those light paths and supports efficient use. Keep primary routes direct, aligning openings to avoid glare and bottlenecks. Provide continuous, obstruction‑free clear widths, consider door swing arcs, and resolve level changes with minimal risers. Verify sightlines, egress travel distances, and turning radii meet local codes and accessibility standards. Use durable, low‑reflectance finishes to reduce veiling reflections.
| Parameter | Target |
|---|---|
| Clear route width | ≥ 900 mm (36 in) |
| Turning circle | Ø 1500 mm (60 in) |
| Door clear opening | ≥ 800 mm (32 in) |
| Headroom | ≥ 2.0 m (78 in) |
Configure lighting, controls, and hardware to support safe wayfinding, while maintaining continuous fire compartmentation and compliant stair geometry, and handrail continuity.
Flexible Multi-Use Spaces
Since a home extension will host changing uses over time, organize it as adaptable zones that protect daylight paths, maintain clear circulation, and concentrate fixed services where they won’t constrain reconfiguration. Use a structural grid and demountable partitions so rooms can expand, subdivide, or shift. Prioritize dual-aspect glazing, high ceilings, and skylights to drive even illumination and reduce glare. Route utilities in accessible service spines. Specify robust floor loads, ample power, and acoustic separation to support work, living, and guests without conflict.
- Use ceiling tracks with sliding panels or curtains to rezone space quickly without rebuilding.
- Install modular storage, fold-down desks, and wall beds to switch between family, office, and guest modes.
- Standardize door widths, outlet heights, data points; reserve ceiling voids for ductwork.
Align Design With Your Home’s Architecture and Neighborhood
Align the extension with your home’s architectural vocabulary, maintaining materiality, rooflines, and detailing that respect the original style. Match neighborhood character by referencing prevailing facade rhythms, setbacks, and fenestration patterns while complying with local design guidelines. Control scale, massing, and proportions through height limits, step-backs, and window-to-wall ratios so it’s visually continuous and code-compliant.
Respect Original Style
Although your program may push for more area, the extension should preserve the building’s architectural language and neighborhood coherence. Respect massing, proportions, and materiality so additions read as subordinate and compatible. Reference existing datum lines, fenestration rhythms, and roof pitches to maintain visual continuity. Specify products that match or deliberately complement originals per conservation best practice; avoid pastiche by differentiating subtly through plane, joint, or reveal.
- Survey and document: capture elevations, sections, and profiles; map modules, sill heights, and cornice lines to set design constraints.
- Select materials: use standards-compliant equivalents for brick, mortar, cladding, and trim; calibrate color, texture, and coursing.
- Detail junctions: design flashings, copings, and connections to standards; control tolerances, shadow gaps, and thermal breaks.
Validate decisions with mockups and peer review.
Match Neighborhood Character
To avoid visual discord, establish context baselines with a streetscape survey and regulatory review. Document prevalent materials, facade articulation types, roof forms, and entry treatments. Cross-check local design guides, heritage overlays, and pattern books to codify what’s typical. Select a materials palette that echoes durable, locally used systems—brick types, siding profiles, mortar color, and cladding—specified to current performance standards. Align fenestration modules, sill heads, and lintel details with neighborhood conventions while meeting energy codes and egress requirements. Coordinate colorways using Munsell or NCS references to guarantee neutral harmony. Validate driveway, porch, and fencing typologies against municipal standards and utility clearances.
| Element | Verification Method |
|---|---|
| Materials palette | Field photos ASTM/EN specs |
| Fenestration detailing | Measured survey energy code |
| Color references | Munsell/NCS crosswalk |
| Site interfaces | Municipal standards map |
Scale, Massing, Proportions
While program needs may push outward, the extension’s scale should be governed by the host building and the zoning envelope—height limits, setbacks, lot coverage/FAR, and any daylight or sky-exposure planes. Calibrate bulk to maintain a legible primary volume and subordinate additions. Read eave, ridge, and datum lines; align new floor-to-floor heights and window head/sill levels. Use step-backs and articulated planes to break mass and protect light, privacy, and views.
- Establish proportional rules: module grids, bay widths, and solid-to-void ratios that echo the original.
- Test alternatives with section cuts, sun-path and shadow studies, and street-elevation mockups to verify fit.
- Select materials and detailing that scale visually—coursing, siding exposure, trim depths—so components don’t overscale.
Validate with neighbor and design review requirements before permitting.
Specify Build Quality, Materials, and Structural Requirements
A robust specification sets measurable performance and compliance targets for your extension in line with applicable building codes (e.g., IRC/IBC or local equivalents) and referenced standards. Define structural actions and capacities: dead, live, snow, wind, and seismic loads; deflection limits; and bearing, shear, and uplift resistance per ASCE 7 and ACI/AISC/NDS. State material grades and finishes: concrete strength and exposure class; reinforcing steel grade; structural steel grade; timber species, grade, and treatment; masonry unit type and mortar class.
Prescribe workmanship and tolerances using recognized standards (ACI 117, AISC 303, TMS 602, ASTM E/L/C). Specify connectors, anchors, and fasteners by type, corrosion category, distances, and embedment. Detail moisture management: below‑grade waterproofing, capillary breaks, drainage planes, sealants, and expansion joints. Require fire-resistance ratings, firestopping systems (tested assemblies), and egress widths. You’ll mandate QA/QC: submittals, mill certificates, mix designs, inspections, and testing with hold points, acceptance criteria, and as‑built records.
Improve Energy Performance and Future-Proof the Space
With structural and material criteria set, establish explicit energy and resilience objectives per IECC or ASHRAE 90.1 (with local amendments) and document them in the project specs. You’ll define envelope U-factors, SHGC, air leakage targets, and infiltration testing protocols. Specify R-values by assembly, thermal bridge mitigation, and continuous insulation details. Require right-sized HVAC per ACCA Manual J/S/D, NMEF limits, and balanced ventilation with MERV-13 filtration and heat recovery.
Establish explicit energy and resilience goals with tuned envelope, right-sized HVAC, and balanced heat-recovery ventilation.
- Verify fenestration performance via NFRC labels; select low-e coatings tuned to orientation, and detail shading to control peak gains.
- Commission airtightness: target ≤3 ACH50 (or local code), use WRB/AB systems, gasketed penetrations, and blower-door-directed air sealing.
- Integrate electrification-readiness: 200A service as needed, dedicated EV and heat-pump circuits, PV-ready conduit, battery interconnects, and space for future equipment.
Model energy use (e.g., REScheck, EnergyPlus) to validate compliance and optimize lifecycle cost. Address moisture, radon, flood, heat, and grid-outage resilience.
Plan Your Delivery: Timeline, Procurement, and Contractor Management
Because delivery risk peaks during execution, establish a baseline schedule and procurement plan before mobilization using CPM logic, a resource‑loaded Gantt, and a risk register aligned with PMBOK practices. Define work packages, sequence activities, and fix a critical path; time‑phase labor, plant, and long‑lead materials. Lock submittal, lead‑time, and inspection milestones. Use make‑buy analysis, prequalify vendors, and issue RFQs with technical data, submittal requirements, Incoterms, and warranty terms. Negotiate to firm delivery windows and liquidated damages where enforceable. For contractor management, set a RACI, site rules, and a change‑control workflow tied to earned value. Hold weekly look‑ahead meetings, update percent‑complete, and manage constraints via a rolling three‑week plan. Track procurement with a register linked to WBS codes. Maintain QA/QC ITPs, safety method statements, and permitting logs. When variance occurs, trigger corrective actions, rebaseline only with governance approval, and document lessons learned for closeout. Confirm compliant commissioning and handover.
Frequently Asked Questions
Do I Need to Adjust My Home Insurance Before Construction Begins?
Yes. You’ll need to notify your insurer before work starts and update coverage. Add a builder’s risk/course‑of‑construction endorsement, raise dwelling limits to projected replacement cost, and extend personal liability. Require the contractor’s COI showing general liability and workers’ comp, with you listed as additional insured where applicable. Confirm ordinance-or-law, water backup, and theft-of-materials endorsements. Document plans, timelines, and values, maintain site security, and get carrier approval to avoid coverage gaps.
How Can We Live On-Site Safely During the Extension Work?
Live on-site by separating construction and occupied zones with lockable barriers and negative-pressure dust control. Establish safe egress routes, temporary kitchen/bathroom, and labeled storage. Isolate HVAC to avoid cross-contamination; use HEPA air scrubbers. Maintain GFCI/RCD-protected temporary power, CO/smoke detectors, Class ABC extinguishers, and clear fire lanes. Enforce contractor inductions, daily housekeeping, and child/pet exclusion. Schedule noisy/high-risk tasks when you’re away. Test for asbestos/lead/silica; mandate PPE and SDS compliance. Monitor air.
What Arrangements Handle Site Waste Removal and Recycling Responsibilities?
Like clockwork, you assign waste and recycling responsibilities to the Principal Contractor in the building contract. They provide a Site Waste Management Plan, segregate streams on-site, and use licensed carriers and permitted facilities. You’ll require waste transfer notes, hazardous consignment documentation, and recycling reports. If you arrange skips, you obtain highway permits and uphold Duty of Care. Specify WRAP targets, 5906 guidance, and CDM roles to guarantee compliance and traceability.
How Should I Inform and Manage Neighbor Expectations During the Build?
Notify neighbors in writing 2–4 weeks prior; you’ll supply plans, timeline, contacts, and working hours. Issue statutory notices (e.g., Party Wall etc. Act) where applicable. Agree delivery routes and parking. Specify noise/dust controls per BS 5228 and local bylaws; schedule high-impact tasks within permitted hours. Offer a contact and complaints log. Conduct pre-condition surveys, if adjacent structures are sensitive. Display signage, join the Considerate Constructors Scheme, and provide progress updates.
What Post-Completion Warranties and Maintenance Documentation Should I Expect?
Because buildings never fail, you’ll obviously need nothing—however, expect: a defects-liability warranty (typically 12–24 months), a 10-year structural warranty, waterproofing and roof guarantees, manufacturer warranties for windows, HVAC, and finishes, electrical and plumbing compliance certificates, commissioning reports, as-built drawings, O&M manual, product data sheets, maintenance schedules, cleaning instructions, serial numbers, warranty registration details, final inspection/occupancy sign-offs, energy certificates, and contact/escalation info. Keep a digital log, schedule services, and document claims.
