PROJECT INSIGHT · INTERIOR FINISHING
A high-quality interior finish comes from coordinated decisions across joinery, kitchens, bathrooms, flooring and lighting. Inspiring Building’s completed Cotswolds home provides a useful room-by-room example of how these services come together, from the first view of the staircase to the smallest storage detail.
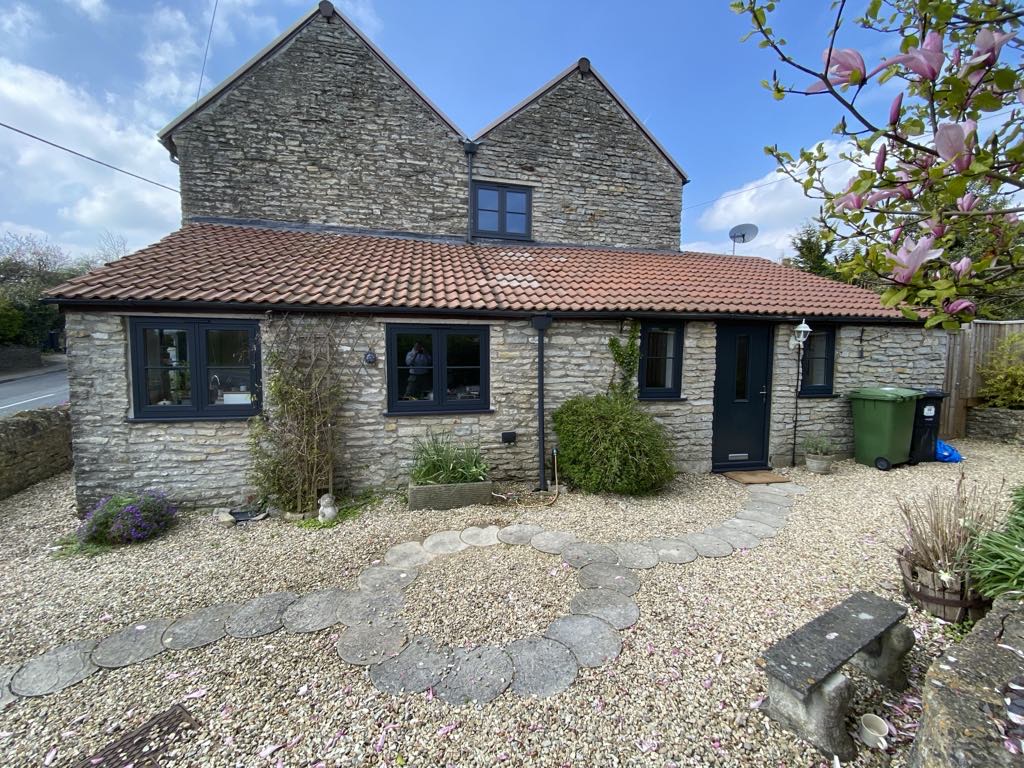
This article focuses on the interior of the same property featured in our Cotswolds exterior and new-build case study. For construction photographs and the broader project story, follow that link. Here, we explore the services, details and practical planning choices behind the finished rooms.
Look for consistency between rooms
A striking kitchen can make an immediate impression, but the quality of a whole-house interior is easier to assess by looking at how the rooms connect. Do the doors, skirting and flooring feel coordinated? Are functional rooms finished with the same care as reception spaces? Does storage work as well internally as it looks externally?
In the Cotswolds home, warm timber details appear across the staircase, flooring and internal doors. Pale surfaces and soft painted colours provide continuity, while darker handles and fittings introduce contrast. The rooms have individual identities within a consistent overall scheme.
For homeowners planning a new build or substantial renovation, this is a useful starting point. Decide which materials and details should repeat, then identify where a different finish will give a room its own character. A written schedule of finishes makes those decisions easier to communicate.
The building services behind a finished interior
1. Kitchen fitting and detailed cabinet installation
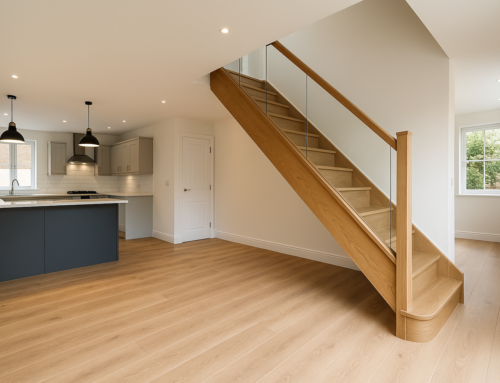
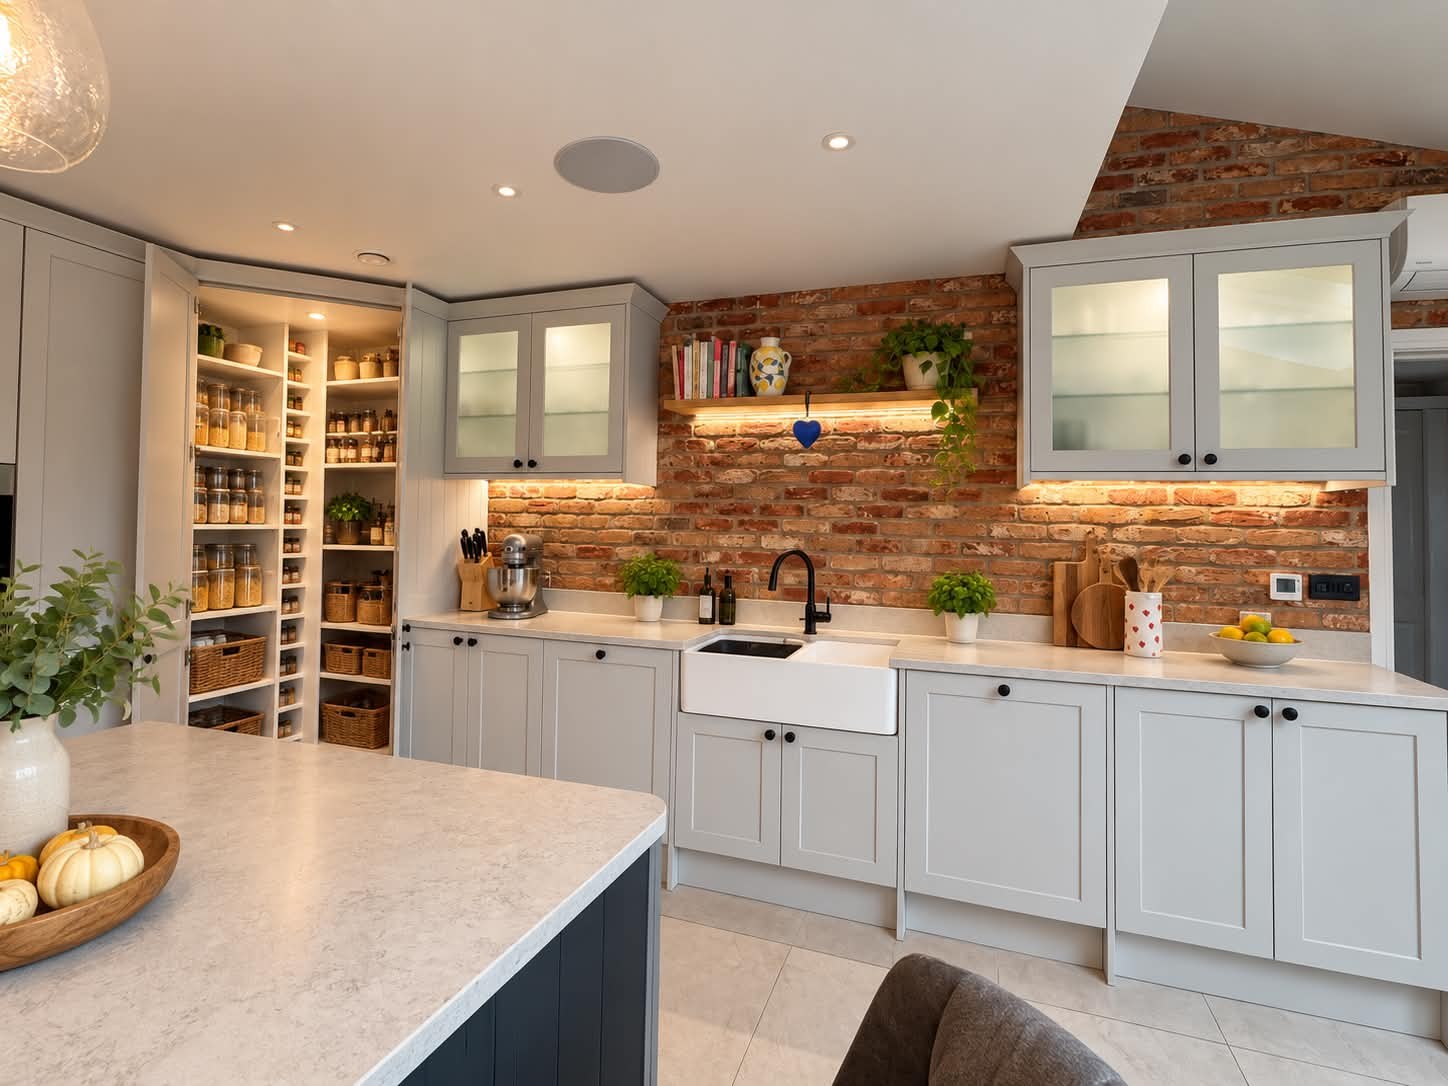
The kitchen is a good example of several services meeting in one room. Cabinet layout, work surfaces, the sink position, lighting and decorative surfaces all influence the finished appearance. In this project, Shaker-style cabinets sit alongside a central island, a feature brick wall and an illuminated pantry.
When planning your own kitchen, think beyond the colour of the doors. Consider where food is stored, how cupboards open, where preparation takes place and how the room will feel in use. Agree appliance requirements, lighting positions and worktop details before the final installation stages. Explore Inspiring Building’s kitchen installation services.
2. Utility fitting and household storage
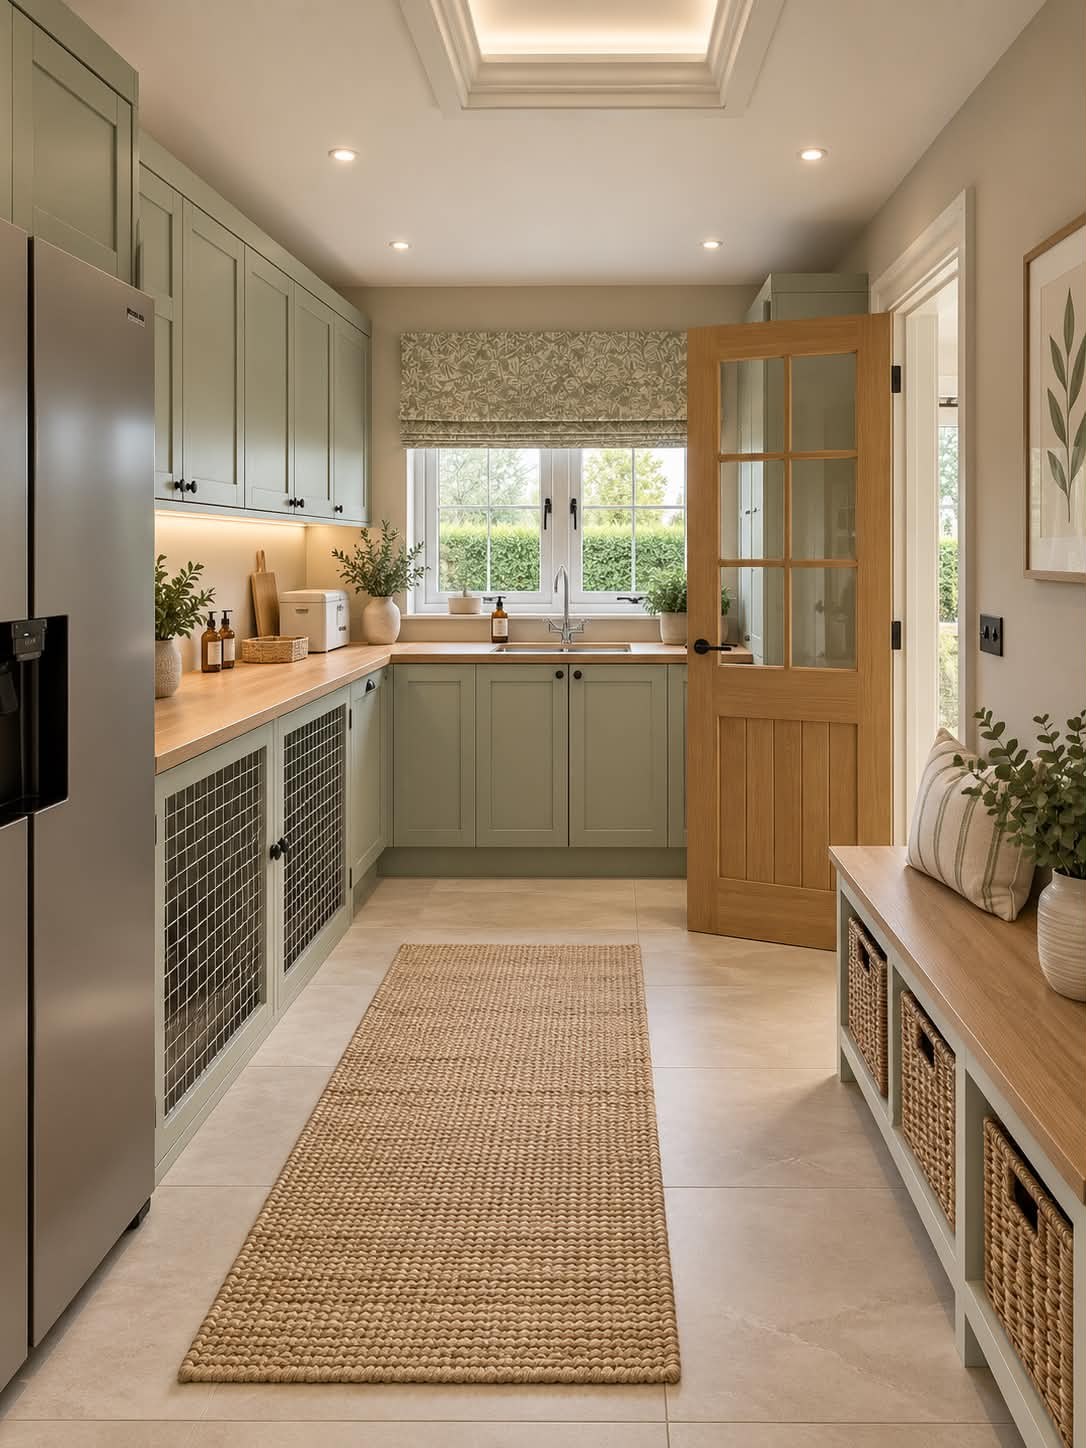
A utility room can carry a significant share of everyday household activity. The Cotswolds example combines fitted cabinets, a sink, worktops and bench-style storage. The room is practical, but its timber door and coordinated finishes make it feel part of the house.
List the tasks you want a utility to support before settling the layout. Think about the items that need concealed storage and those that should remain easy to reach. Clear priorities help determine the balance of tall cupboards, work surfaces and lower storage.
3. Staircase installation, balustrades and internal joinery
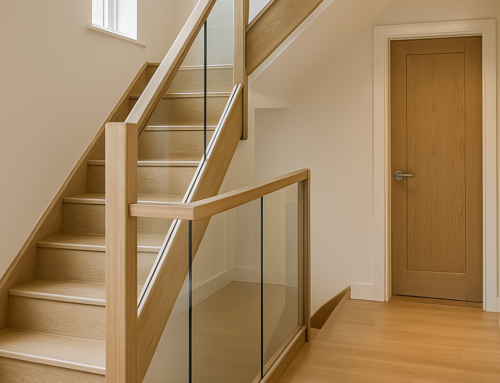
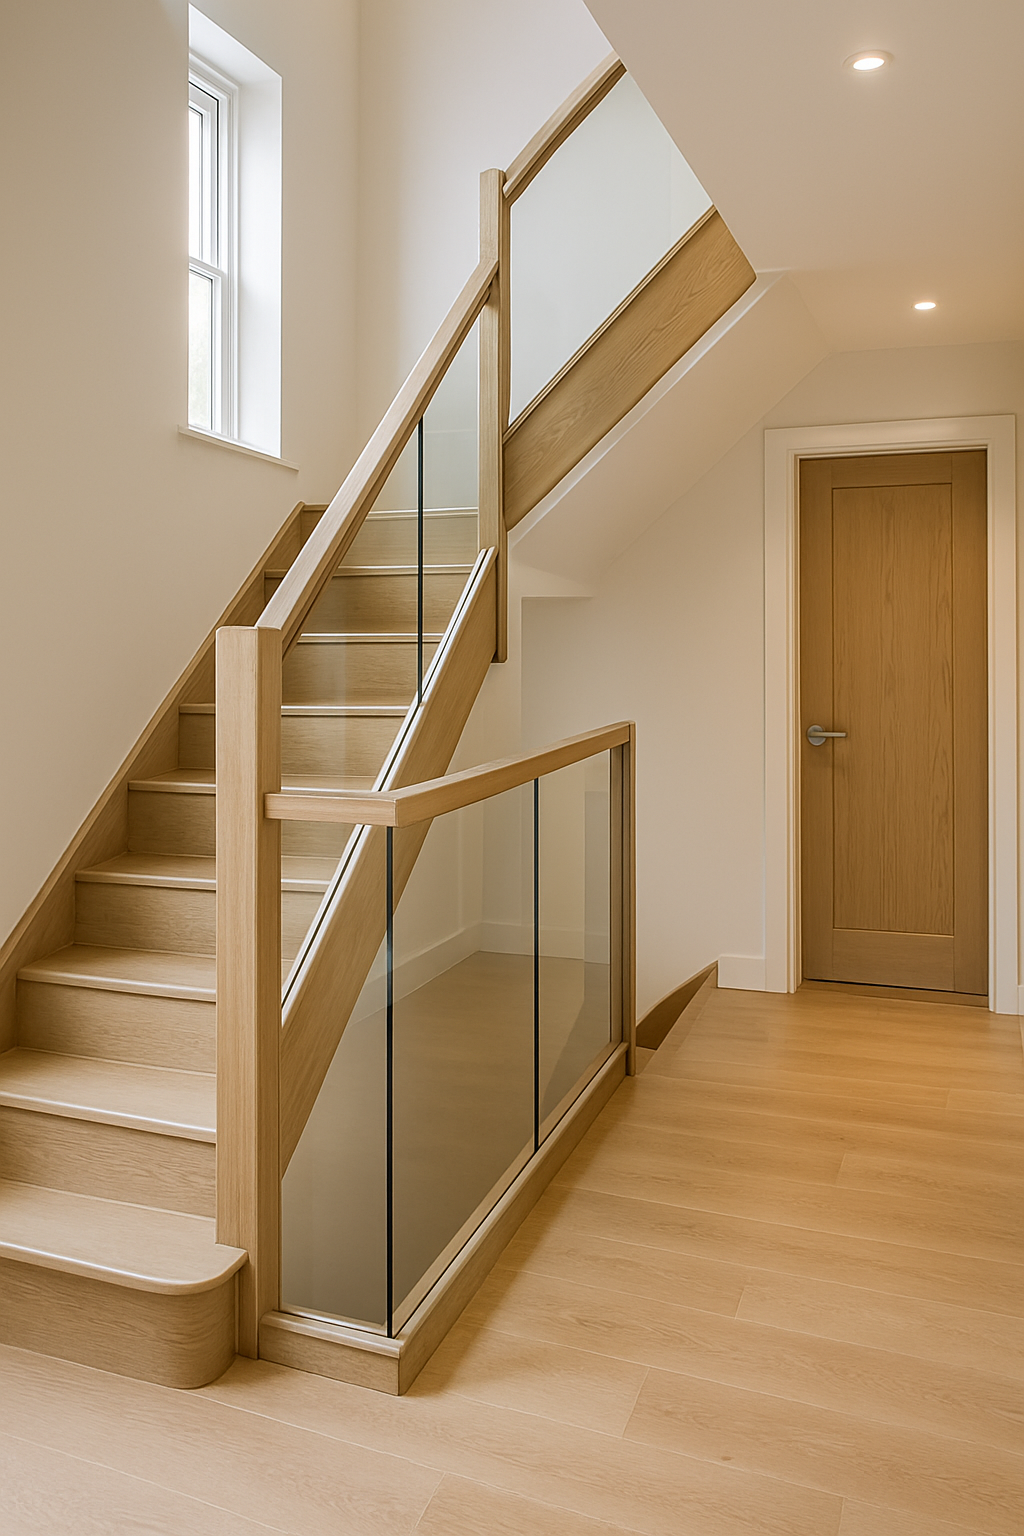
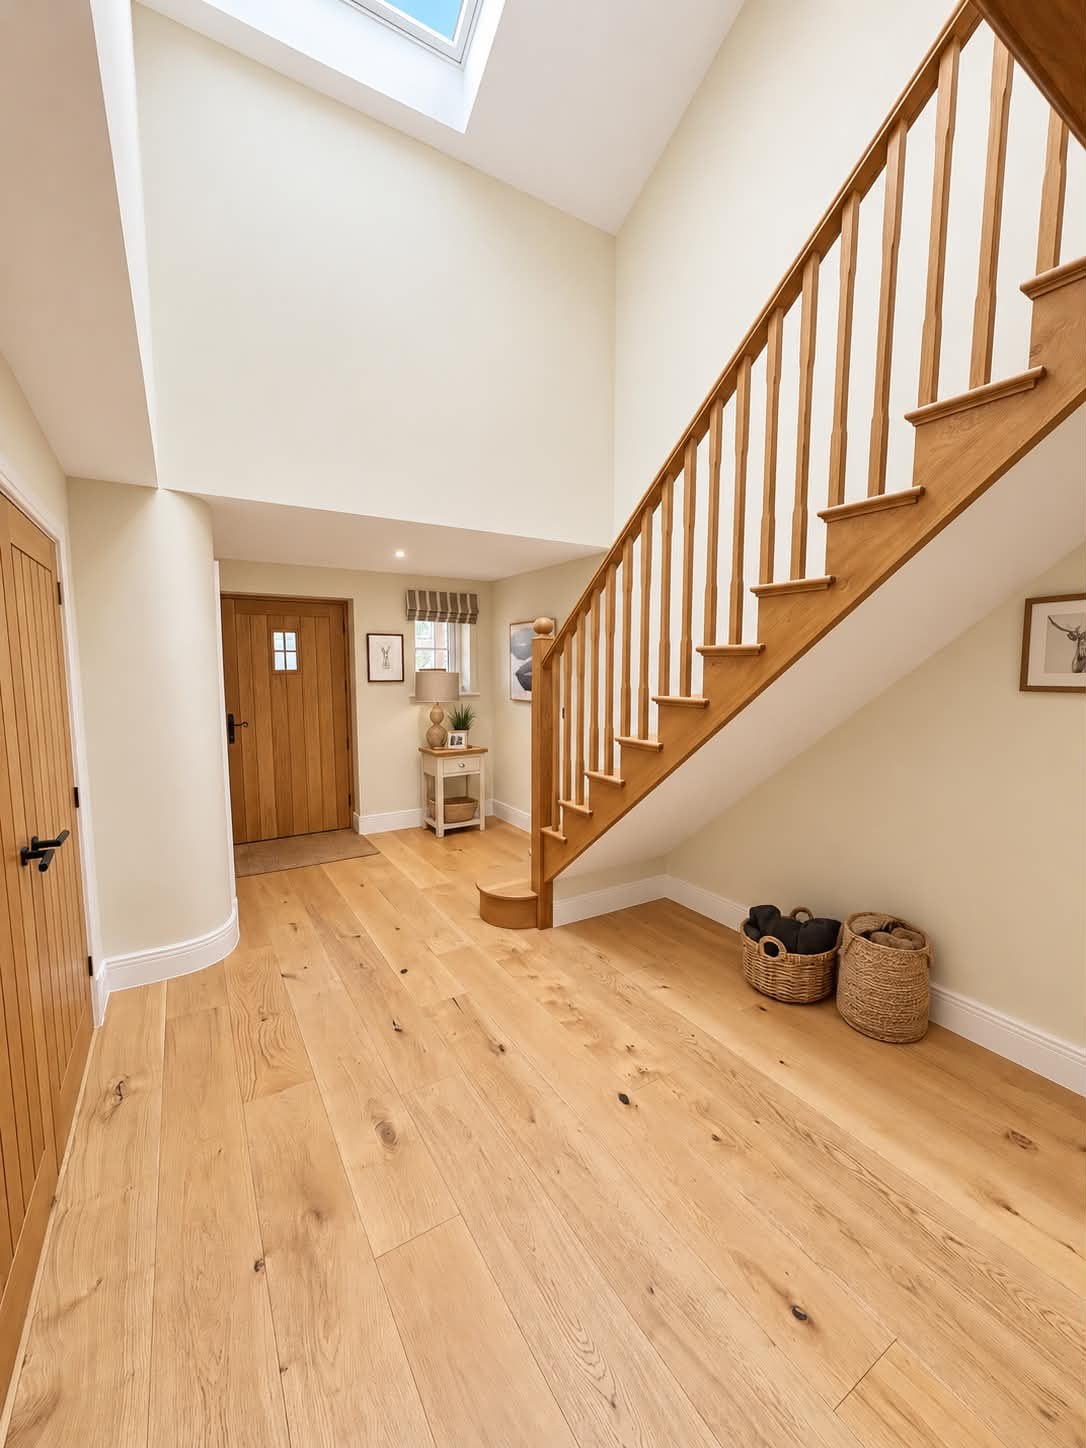
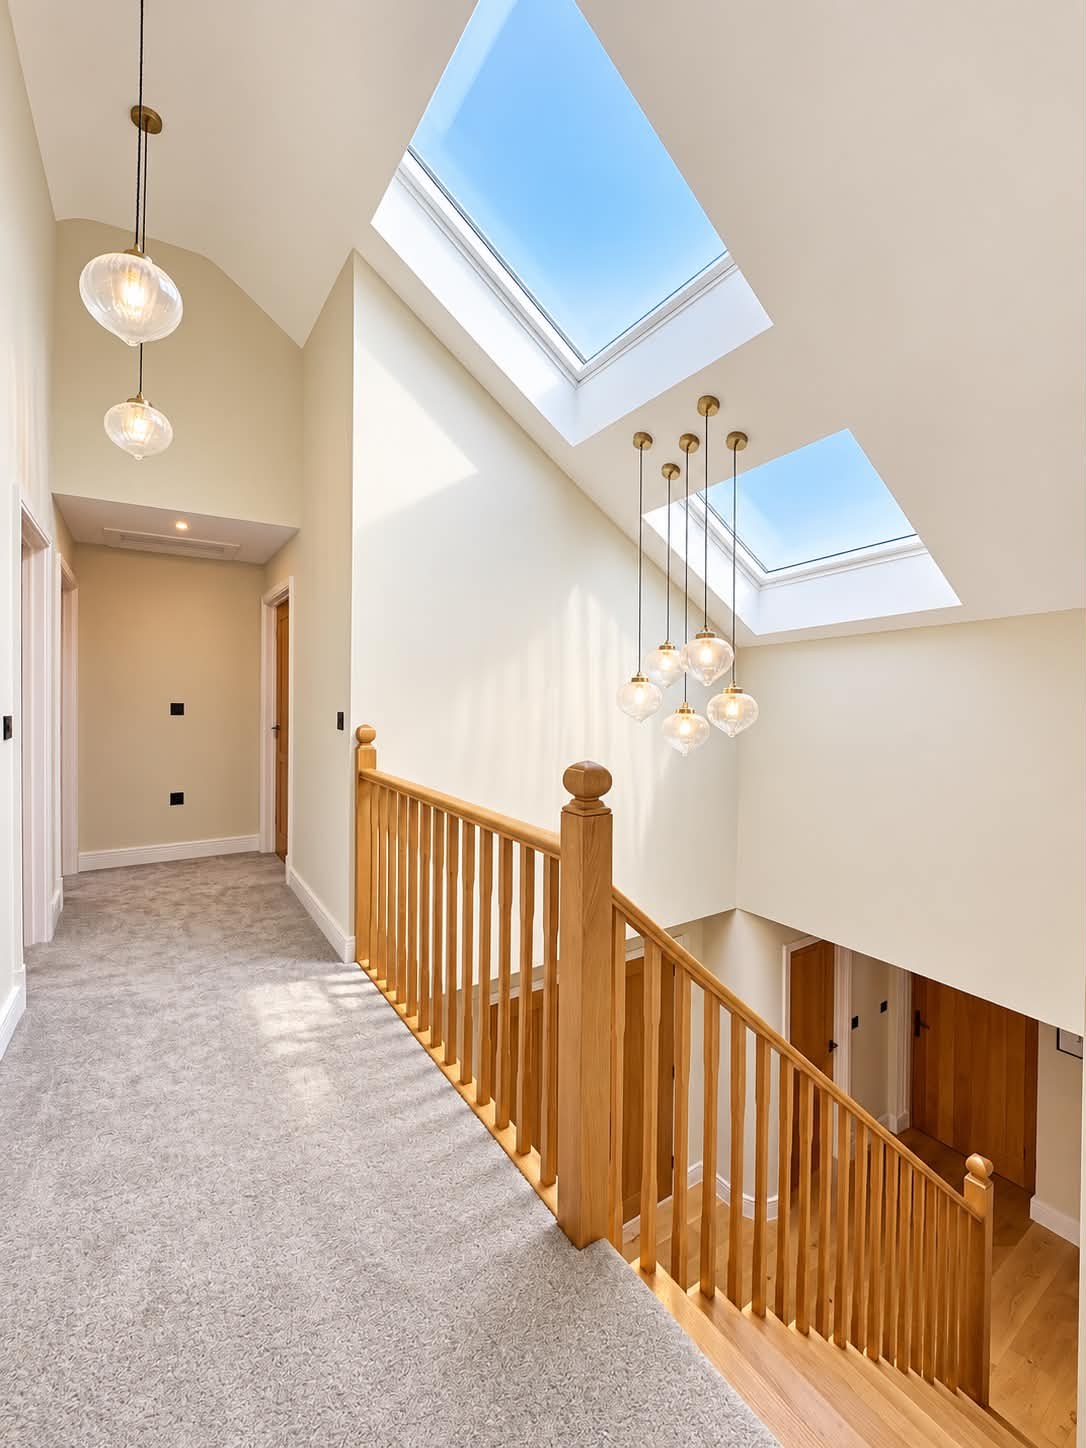
The staircase is both a route between floors and a prominent interior feature. Here, rounded lower steps, timber newel posts and a matching landing balustrade establish a strong visual identity. Internal doors and black ironmongery continue that attention to detail beyond the stairwell.
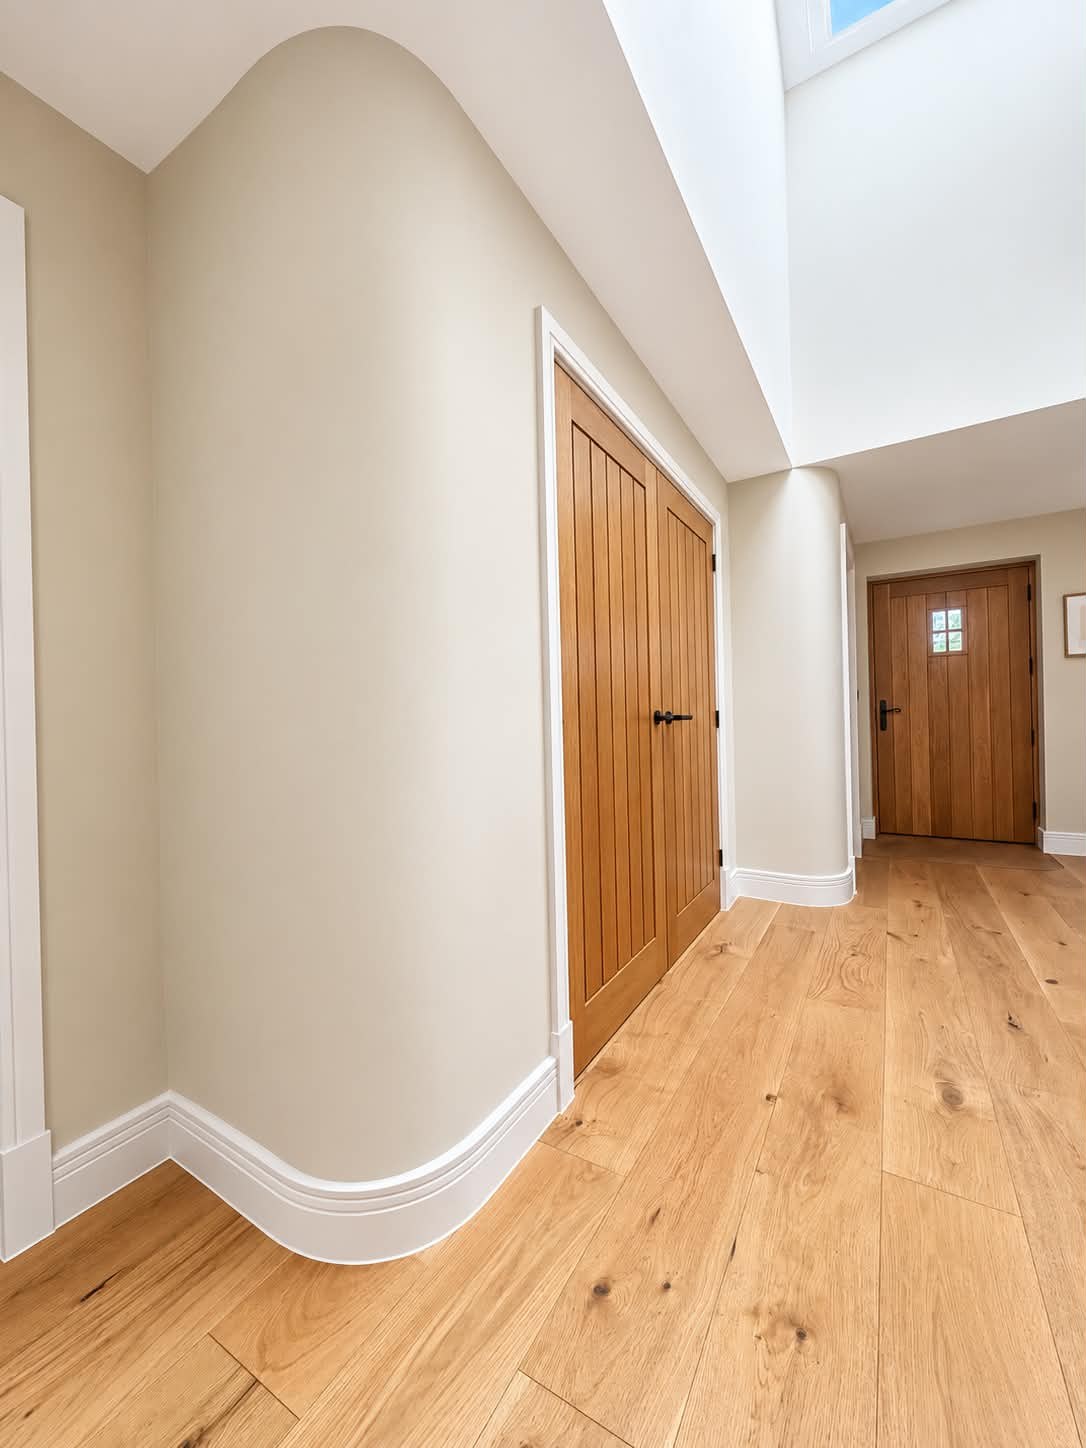
Assess the complete joinery package when developing a specification. Door finishes, handles, architraves, skirting and staircase details need to work together. Ask how the visible junctions will be finished, particularly where flooring changes or walls curve.
4. Fitted wardrobes and bedroom furniture
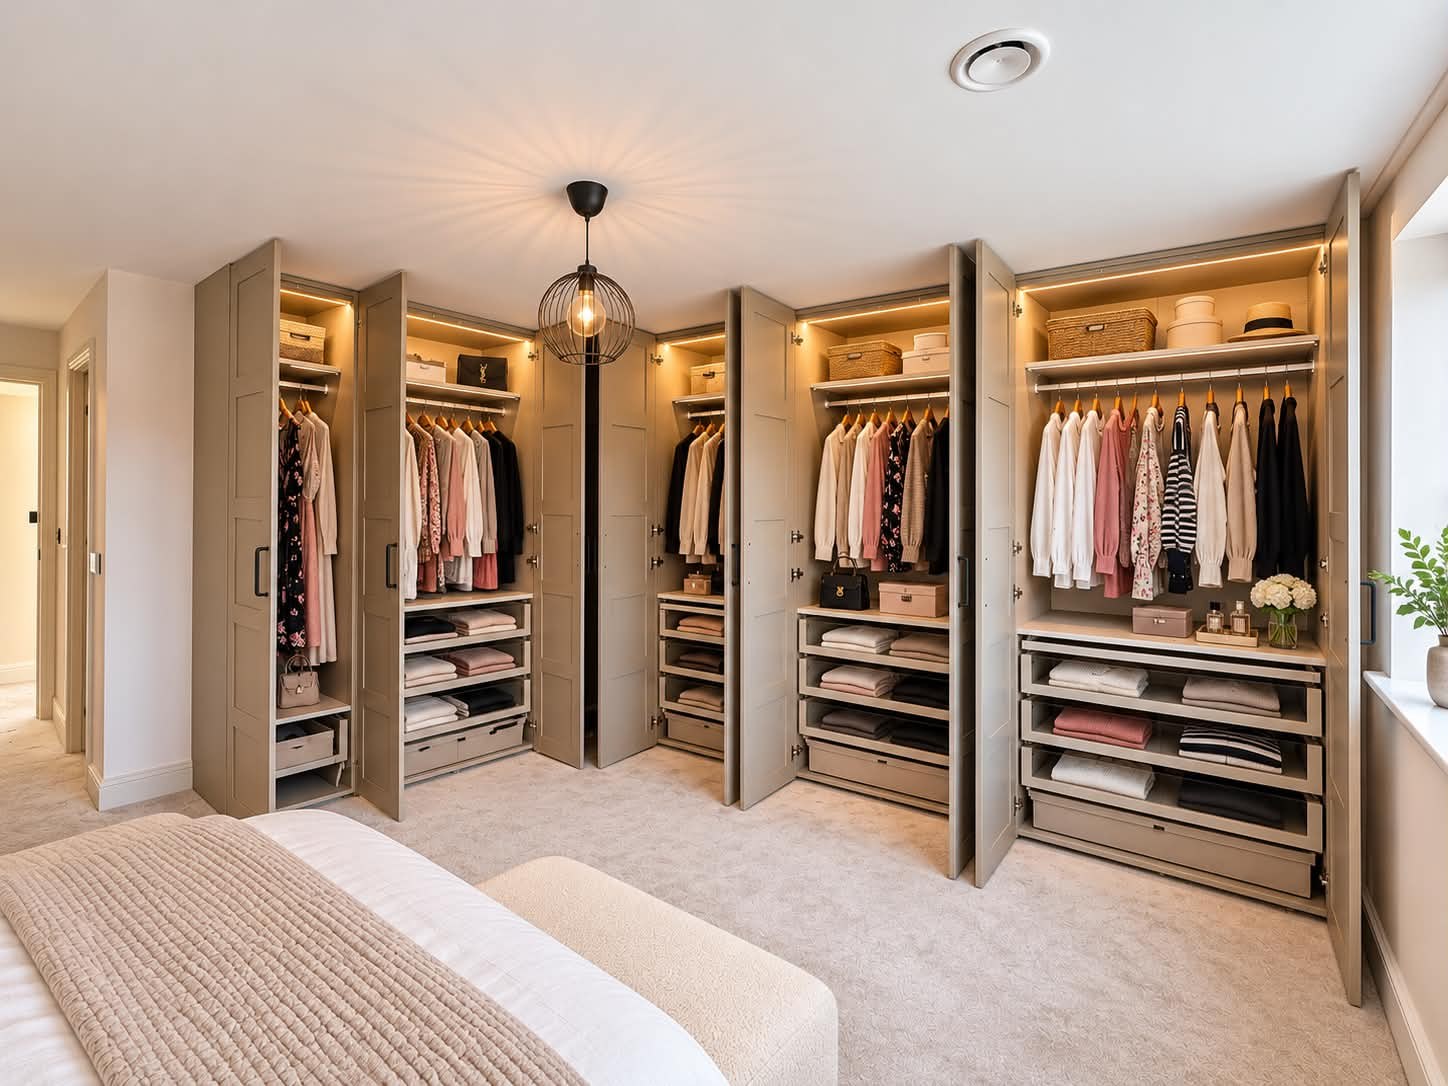
The wardrobe photograph makes the value of internal planning clear. Hanging space, drawers, open shelves and upper storage provide several ways to organise clothes and accessories. Integrated lighting improves visibility, while the painted doors contribute to the bedroom scheme.
Begin a fitted storage brief with what will go inside. Long garments, folded items and frequently used accessories need different arrangements. Thinking about those needs early can produce a more useful installation than choosing the external appearance alone.
5. Bathroom and shower-room installation
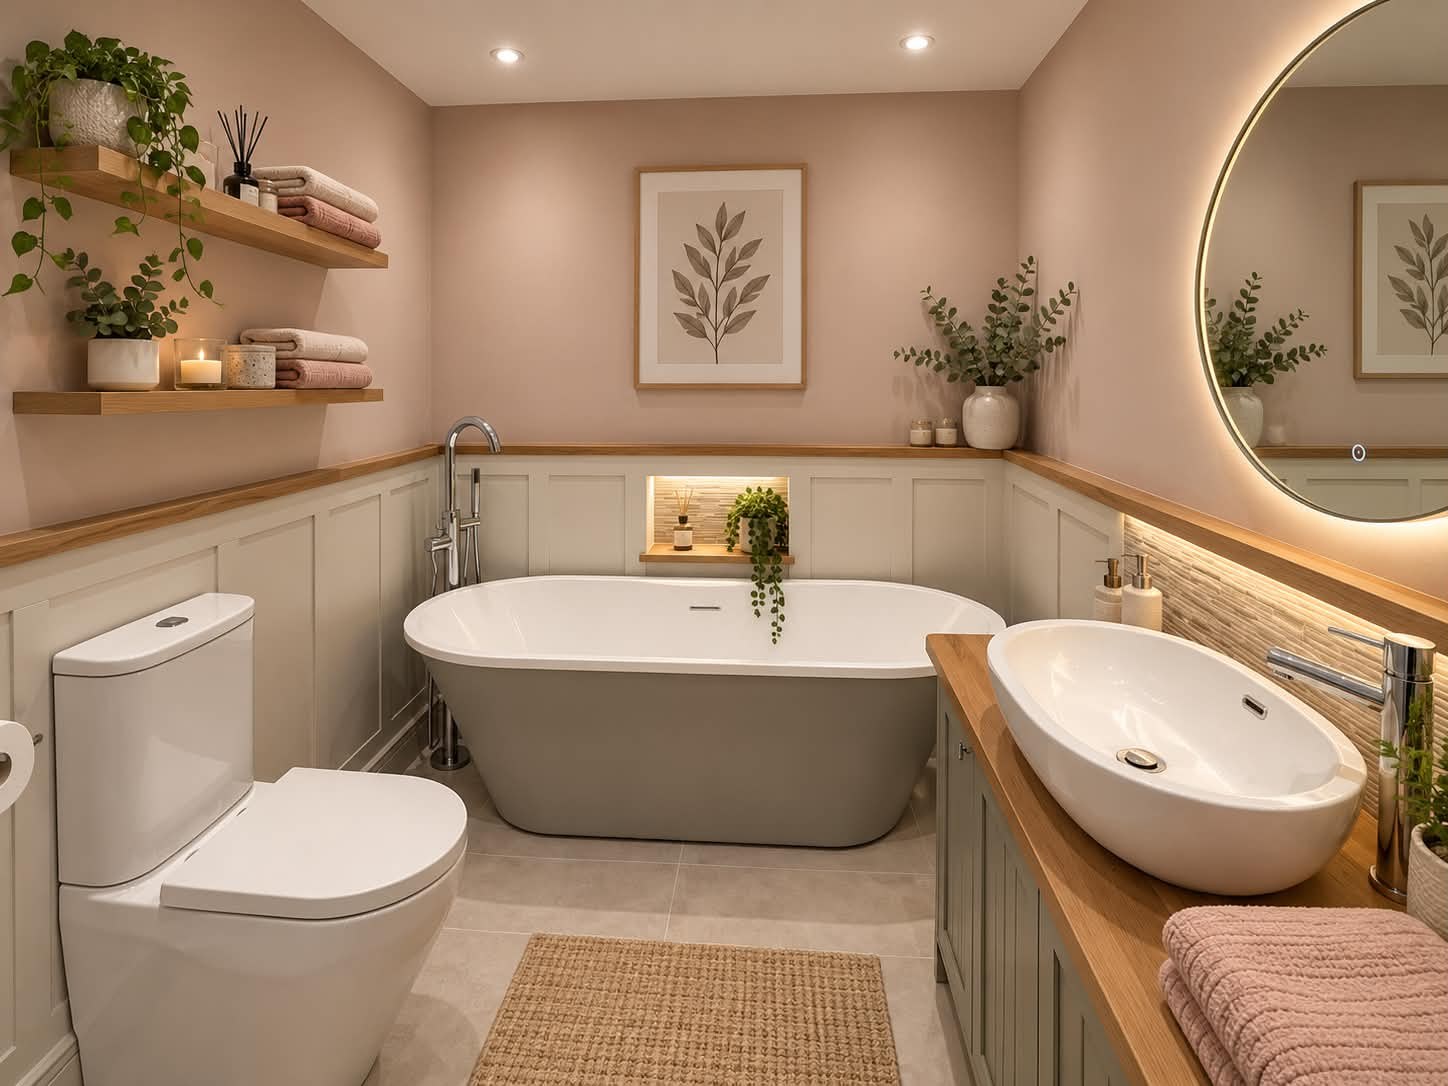
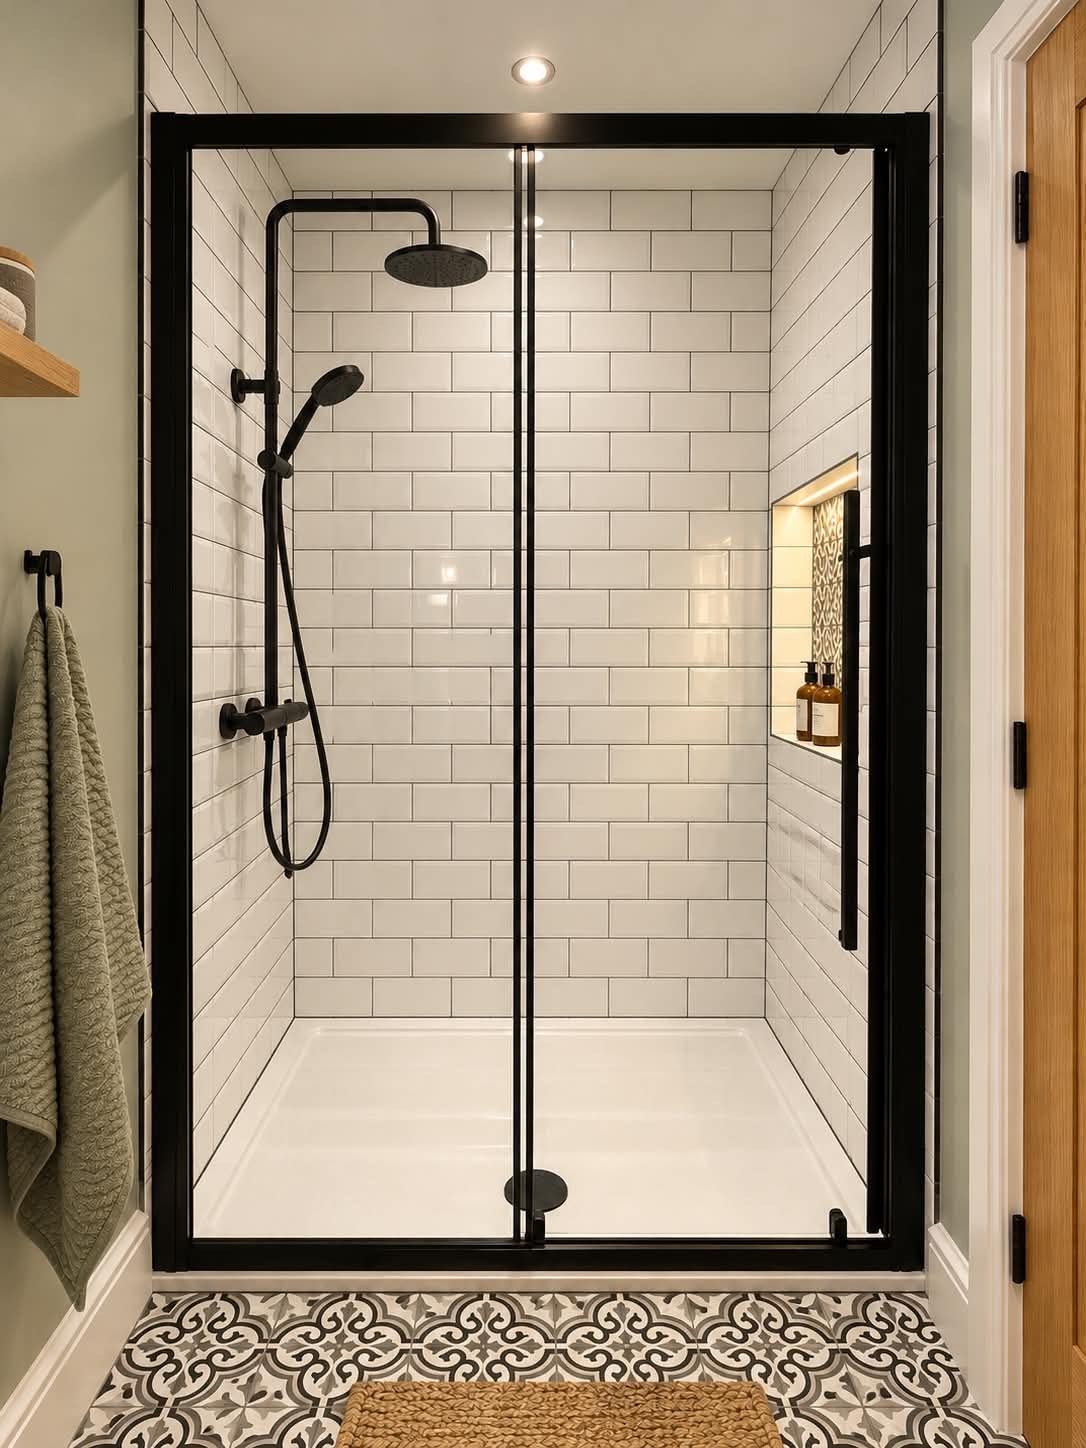
The two bathroom photographs show contrasting but equally considered approaches. One brings together a freestanding bath, fitted vanity, wall panelling and illuminated mirror. The other uses a black-framed shower enclosure, white wall tiles, patterned flooring and a recessed niche.
Bathroom planning needs to cover use, cleaning and access alongside appearance. Agree the fittings, tile layout, storage and lighting positions together. Discuss preparation, waterproofing and the installation sequence with the team before surfaces are closed up. Learn more about bathroom installation and refurbishment.
6. Flooring, skirting and surface transitions
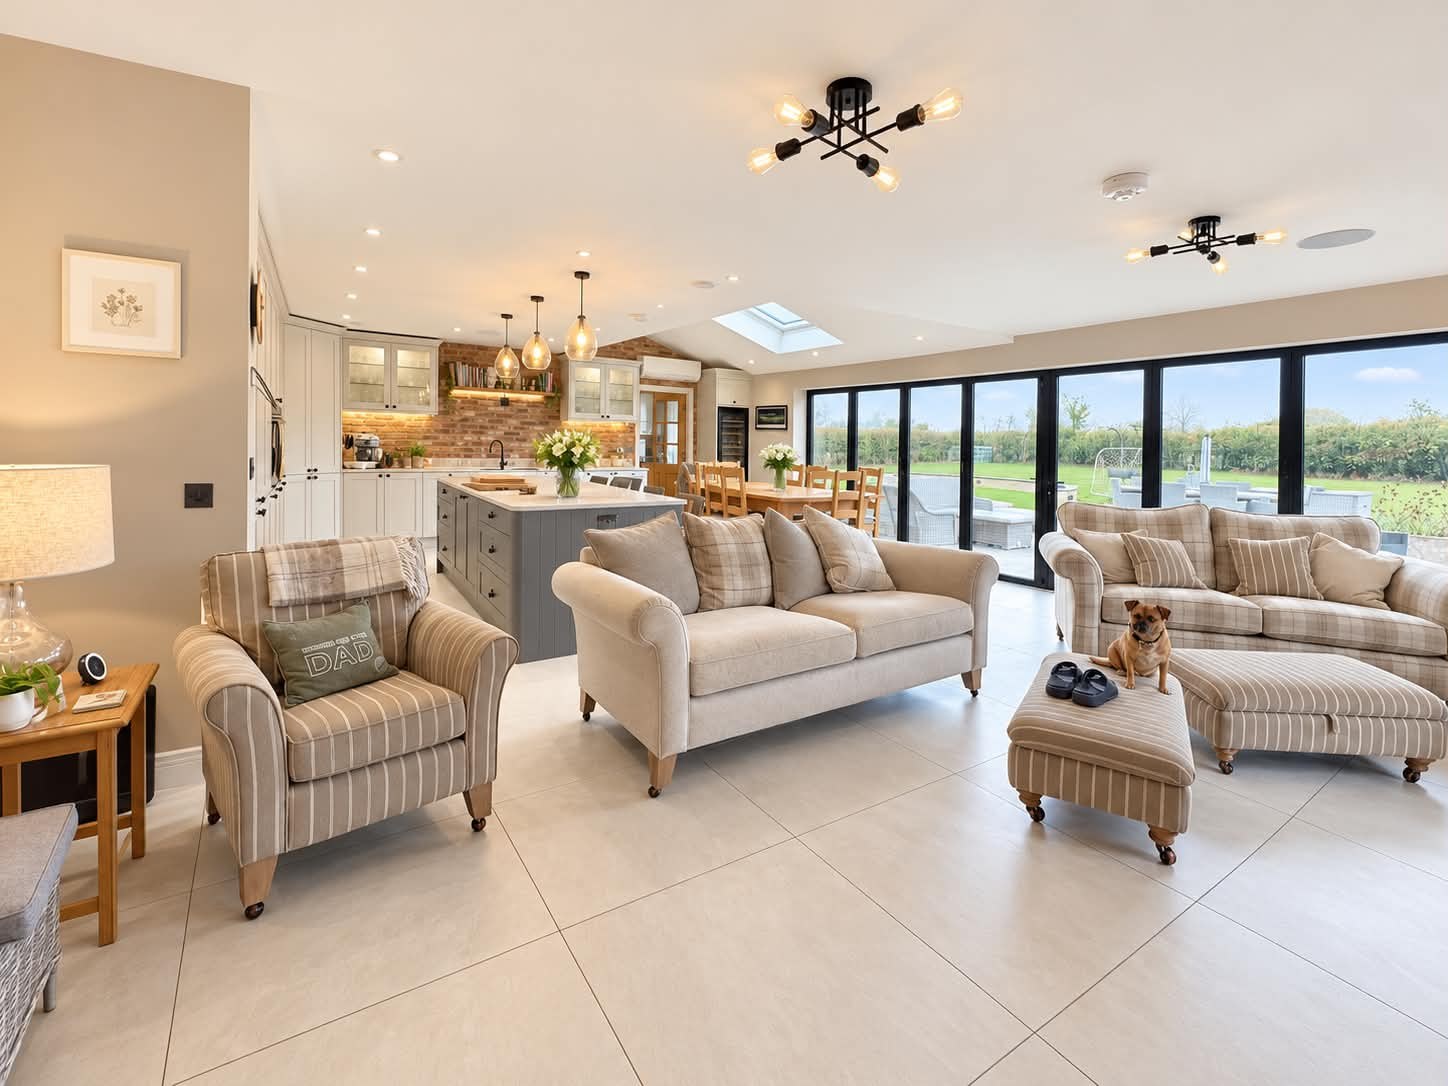
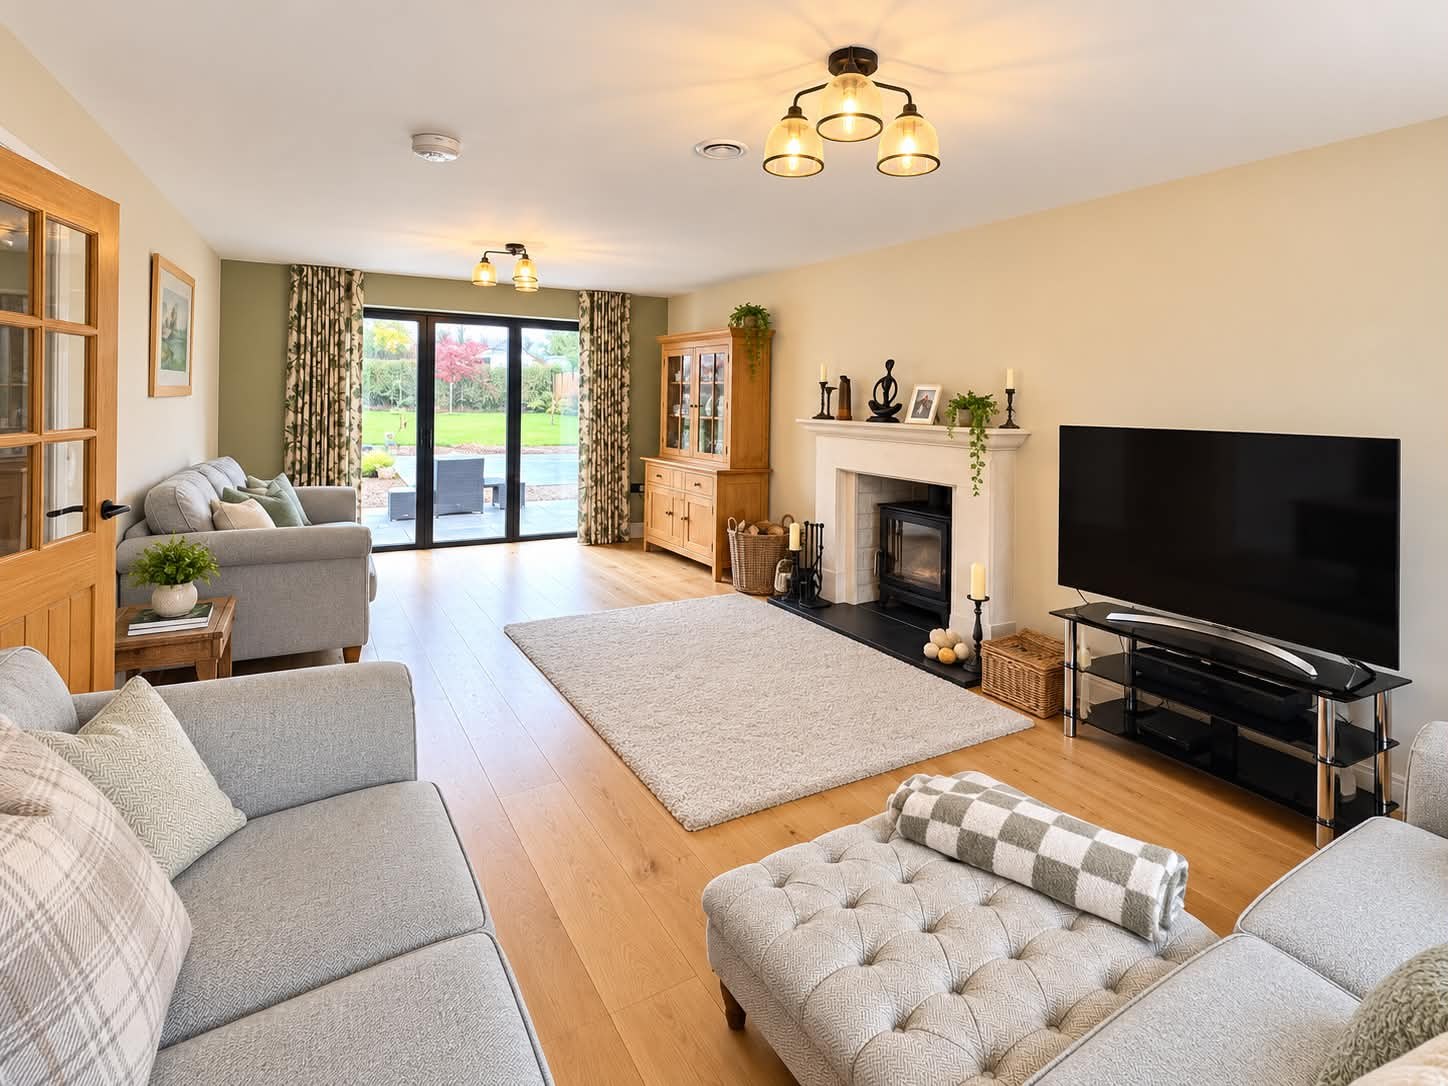
Flooring has a strong influence on how connected an interior feels. Timber tones bring warmth to the hallway and lounge, while the tiled floor creates continuity across the open-plan living area. White skirting provides a defined edge against the painted walls.
Review floor finishes as part of the overall interior specification. Consider thresholds, finished levels, cleaning requirements and the relationship with any heating system. The aim is a practical surface with well-resolved transitions into adjoining rooms.
7. Rooflights and the finishing around openings
Rooflights above the stairs introduce daylight into the centre of the home and emphasise the stairwell’s height. The clean surrounding plasterwork is part of the finished effect: an opening needs to look considered from inside as well as perform its intended function.
When discussing roof glazing, consider the appearance of the internal reveals and how the light will fall across the space. Plan the relationship with pendant lighting, balustrades and nearby doors so the elements work together.
8. Lighting and decorative finishing
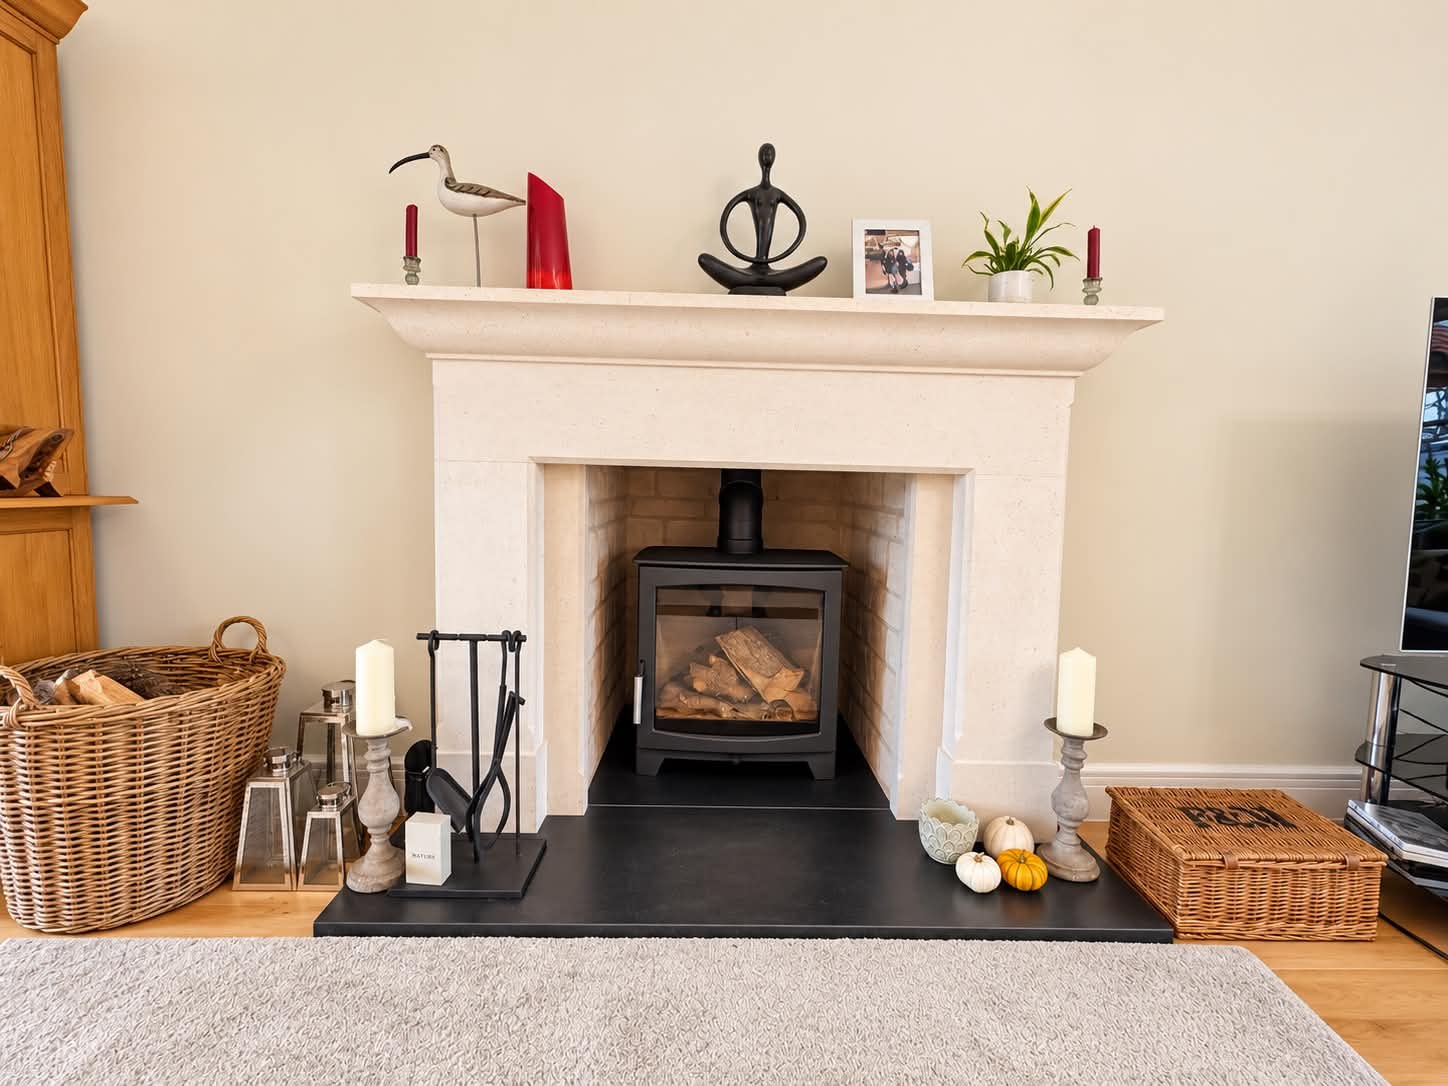
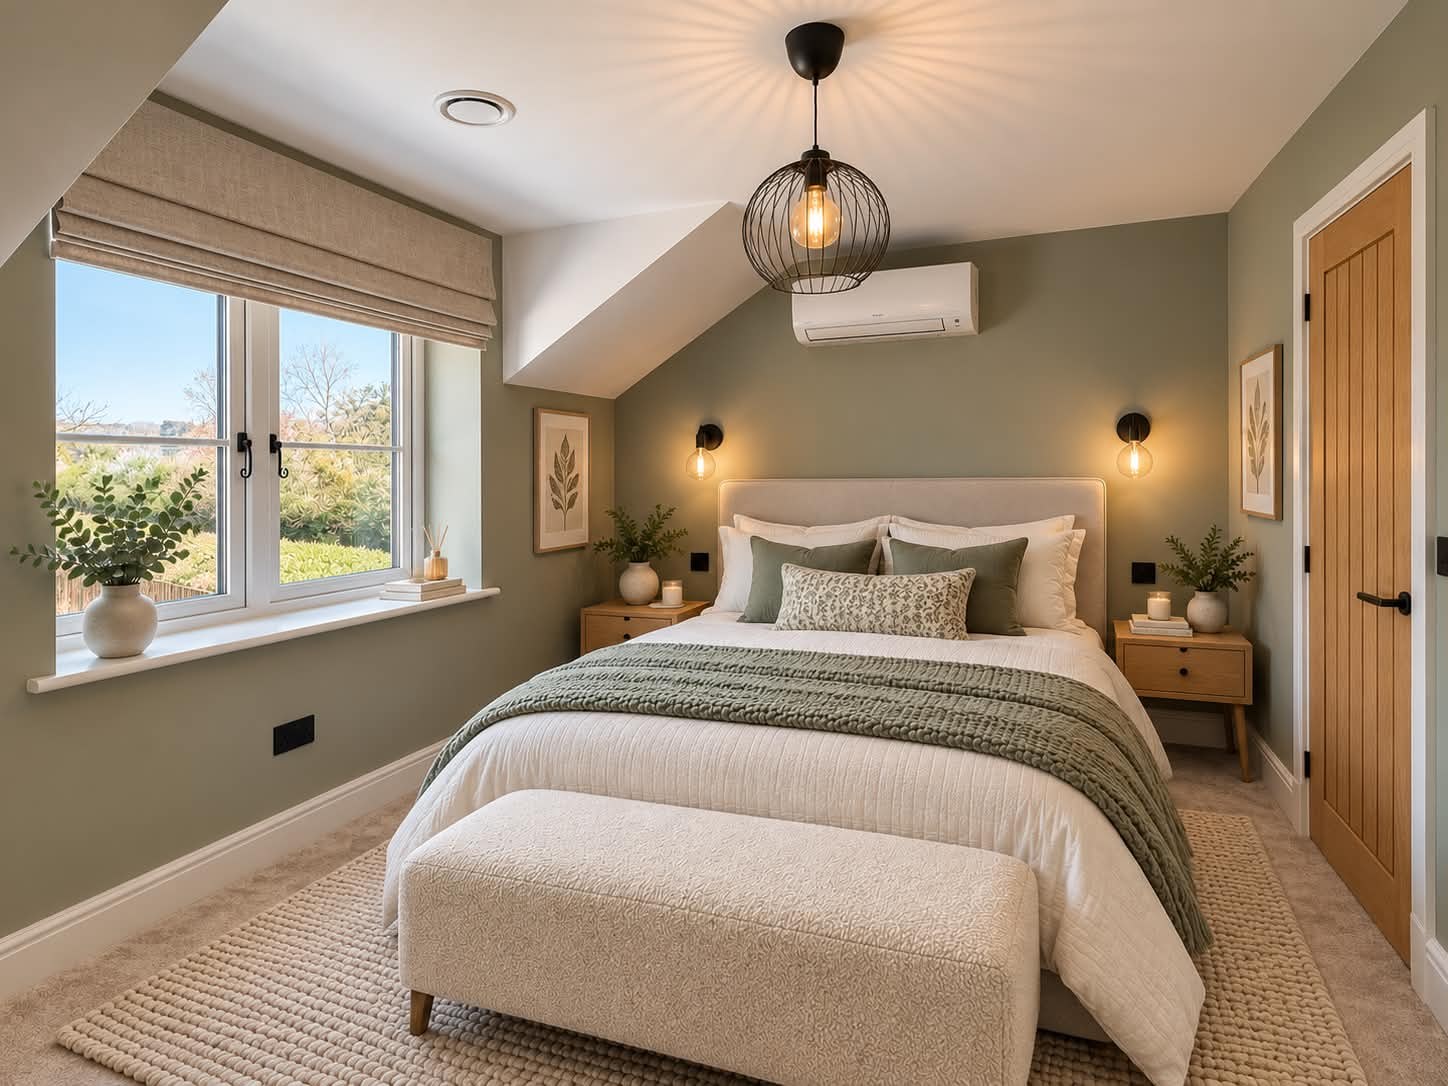
The photographs show several lighting roles: pendants over key areas, bedside wall lights, illuminated wardrobe interiors and bathroom niches. These fittings create visual interest while providing light close to the task or feature they support.
Painting and plasterwork provide the background against which these details are seen. In this home, restrained colours and clean wall surfaces allow the timber, cabinetry and fittings to stand out. See painting and decorating and wall panelling for related services.
Plan the finish before the finishing stage
Many visible details depend on decisions made earlier. A bathroom niche needs space within the wall arrangement. Wardrobe lighting needs consideration alongside the fitted furniture. A kitchen layout affects the position of services, fittings and usable work areas.
For a coordinated brief, prepare a room-by-room list covering:
- The purpose of the room and how you expect to use it.
- Flooring, wall treatments, skirting, doors and ironmongery.
- Fixed furniture, storage layouts and key dimensions.
- Sanitaryware, kitchen fittings and appliance requirements.
- Lighting positions, switches, sockets and integrated lighting.
- Details that should match adjacent rooms.
- Product decisions, delivery requirements and the agreed scope of work.
Keep the brief practical. Photographs can help explain the appearance you like, but the specification should also state what is included. Discuss who will coordinate the trades and how decisions or changes will be recorded. Inspiring Building’s building project management service and guide to working with the team explain relevant parts of the process.
Make the completion review specific
At the final review, look at how the installed elements work as well as how they appear. Open cupboards and drawers, review visible junctions and check that agreed fittings and finishes are present. Record any remaining items clearly so the team and client share the same understanding.
For an existing property, a complete new-build interior may provide ideas that can be adapted through a smaller project. A kitchen refit, bathroom installation or coordinated home renovation can apply the same attention to storage, light and finishing. The appropriate scope depends on the building and your priorities.
Cotswolds interiors: the complete project gallery
Explore all 12 interior photographs, from the main living space to the fitted wardrobes and shower room. Each image highlights a different part of the completed fit-out.
Frequently asked questions
Is this the same property as the exterior Cotswolds case study?
Yes. This feature looks inside the same bespoke home. The separate exterior case study provides the construction background and external project photographs.
Which interior services are illustrated?
The photographs illustrate kitchen and utility fitting, bathrooms, shower installation, tiling, fitted storage, staircase and door joinery, flooring, lighting integration, plasterwork and decorative finishing.
Can these ideas be used in a renovation?
Many can inform a renovation brief, including coordinated doors and flooring, better fitted storage and layered lighting. Structural changes and changes to services need assessment for the individual property.
What is the best way to brief a builder on the finish?
Prepare a room-by-room schedule with reference images, preferred materials, fittings, storage needs and the details you want repeated. Share available drawings and agree the included work before installation begins.
How can I discuss a similar project with Inspiring Building?
Send your project location, a description of the work, photographs or drawings where available, and an outline budget and timescale. The team can discuss the next steps and the information needed to develop the scope.
Explore the complete Cotswolds interiors case study for the room-by-room project story.