You’ll often get one of the highest returns per usable square metre by converting a loft: typical valuation uplifts of 10–20%, 20–40% usable-floor-area gains from dormers and measurable energy savings improve payback. Structural reinforcement, insulation and compliance with permitted development rules are key risk controls. Expect 5–15 year payback ranges depending on market and finish. Budget 10–20% contingency and validate ROI with comparables. Scroll on for detailed cost, planning and performance guidance and implementation steps.
Key Takeaways
- Loft conversions typically boost property value by 10–20% while adding usable floor area at a lower cost per m² than extensions.
- Converting space to an extra bedroom or rental unit shortens payback periods and improves long‑term cash flow and net yield.
- Creating a dedicated home office increases occupant productivity and market appeal as remote work persists post‑2026.
- Many conversions fit permitted development rules, reducing planning delays and enabling faster, lower‑risk delivery than full extensions.
- Upgrading insulation and roof form in conversions improves thermal performance, lowers energy bills, and future‑proofs the asset.
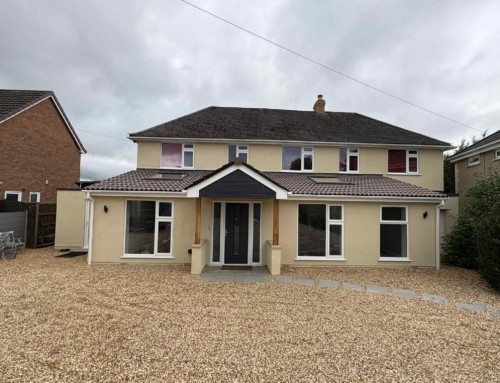
The Financial Case: Cost Versus Added Value
If you’re weighing a loft conversion as an investment, compare upfront build costs against the realistic uplift in market value and usable floor area. You should quantify costs (survey, planning, structural, insulation, glazing, finishes, services) and express them as cost per usable square metre. Use comparable sales and estate-agent appraisals to estimate value uplift — studies typically report 10–20% uplift on comparable two- to three-bedroom properties in strong markets, but local data matters. Calculate net present value and internal rate of return over a 10-year horizon, incorporating transaction costs, stamp duty, and maintenance. Sensitivity-test assumptions for sale price, vacancy, and cost overruns. Factor in building regulations compliance and potential VAT implications for conversions. If financing, model debt service against expected capital gain. Present findings in a simple spreadsheet so you can produce a clear break-even and probability-weighted outcome before committing. You’ll then decide based on quantified risk-adjusted returns.
Maximising Usable Space Without an Extension
You’ll maximise usable space without extending the building by combining careful spatial reconfiguration, targeted roof-form interventions and service-efficient detailing: reconfigure partitions to create continuous clear zones, lower non-structural ceilings to conceal services, and adopt mansard or dormer insertions where structural appraisal permits. Use built-in storage in eaves, lightweight mezzanines over circulation, and integrated HVAC/insulation packages to minimise volume loss. Quantify gains: dormer insertion typically increases usable floor area by 20–40% without changing footprint; built-in furniture recovers 8–12% of plan area. Prioritise structural consolidation—timber truss reinforcement and point-load transfers—to avoid full rebuilds. Specify compact service risers and flat-plate lighting to reduce required ceiling voids. Monitor headroom metrics: target 2.2–2.4 m clear in primary zones. Validate with a dimensional survey and simple energy-model analysis to guarantee spatial decisions don’t compromise thermal performance.
| Intervention | Typical gain |
|---|---|
| Dormer | 20–40% |
| Built-in storage | 8–12% |
Confirm interventions with structural engineer and certified surveyor reports before implementation.
Planning Rules and Permitted Development Updates
You should be aware that recent updates to permitted development rights have changed which loft enlargements you can carry out without full planning permission. The statutory guidance sets dimensional limits, materials and impact assessments you’ll need to satisfy and is supported by case-level precedents and technical annexes. Significantly, local planning authorities can impose Article 4 directions or specific local development policies that restrict or remove these national rights, so you must check your council’s development management rules before committing.
Updated Permitted Development Rights
Although national permitted development (PD) rights have been broadened in recent years, recent amendments and local Article 4 directions mean you’ll need to confirm the applicable dimensional limits, permitted materials, and prior‑approval requirements with the local planning authority and building control before proceeding. You should audit statutory instruments, the latest GDPO schedules and any written ministerial statements to establish ceilings for roof additions, projection limits and volume caps. Verify thermal performance, fire separation and insulation standards referenced in Building Regulations. Mitigate risk by accurately documenting compliance evidence and pre-application responses. Consider an accurate measured survey and structural appraisal to justify loadings.
- check dimensional limits and volume allowances
- confirm permitted materials and external appearance controls
- obtain prior‑approval requirements and timelines
- compile evidence for building‑regulation compliance
Local Authority Variations
Local planning authorities frequently impose Article 4 directions, area‑specific design codes, and bespoke validation requirements that modify national permitted development rights, so you’ll need to verify site‑specific constraints against the local plan, neighbourhood plan policies, and any live Article 4s before relying on GDPO allowances. Check local application performance data, pre-application advice and recent appeals to quantify approval likelihood and condition burdens. You’ll assess listed‑building status, conservation area overlays, and flood or heritage constraints that potentially trigger full applications or conditions. Where permitted development is curtailed, calculate additional timeframes, consultant fees and likely planning conditions to refine ROI models. Use statutory registers, local validation checklists and GIS planning layers for due diligence, and record Section 106 precedents that may affect deliverability or cost profiling.
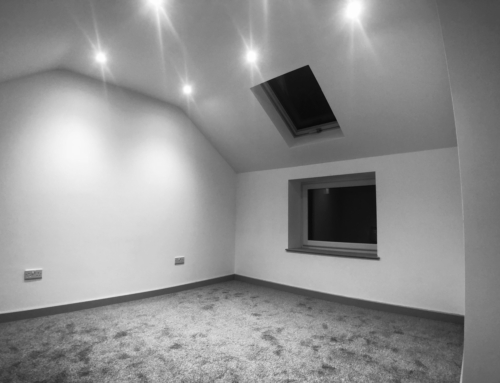
Energy Efficiency and Insulation Benefits
You can materially improve your home’s thermal performance by upgrading loft insulation and mitigating thermal bridges, with gains expressed in lower heat-loss rates and improved roof U-values. Evidence and standard assessment methods (e.g., SAP/PHPP) indicate that raising insulation levels in the loft typically reduces heat loss through the roof by roughly 20–30%, thereby lowering space‑heating demand. That improvement commonly translates into measurable energy bill reductions — often in the order of 10–20% of annual heating costs depending on existing fabric and fuel type.
Improved Thermal Performance
When a loft conversion is designed to integrate a continuous thermal envelope, it materially improves the dwelling’s thermal performance by reducing conductive heat loss, air leakage, and thermal bridging at roof and party-wall junctions. You’ll get measurable reductions in heat flux through the roof plane and reduced convective losses when insulation and airtightness are coordinated. Use high-performance insulation, vapor control layers, thermally broken structural details to meet U-values and pass blower-door criteria. Consider moisture risks and hygrothermal modelling to avoid interstitial condensation. Key technical focuses include:
- Continuous insulation across rafters and party walls to eliminate thermal bridges
- Controlled ventilation to manage humidity without compromising airtightness
- Proper vapor control and capillary breaks to prevent moisture accumulation
- Thermally broken penetrations for windows, stairs and insulation junctions
Lower Energy Bills
Improved thermal performance directly reduces the heating load of a dwelling, so you’ll see lower energy consumption and smaller fuel bills after a well-executed loft conversion. By upgrading insulation to U-values of 0.18 W/m²K or better, sealing air gaps and installing proper vapour control, you cut conductive and convective losses. Measured retrofit studies report 15–30% reductions in space-heating energy for similar interventions; your actual savings depend on climate, occupancy and heating system efficiency. Incorporating high-efficiency glazing for dormers and mechanical ventilation with heat recovery preserves ventilation while minimizing heat loss. Calculate payback using seasonal energy consumption, local tariffs and projected degradation of materials; typical simple payback falls between 5–12 years, and measurably improve long-term asset value.
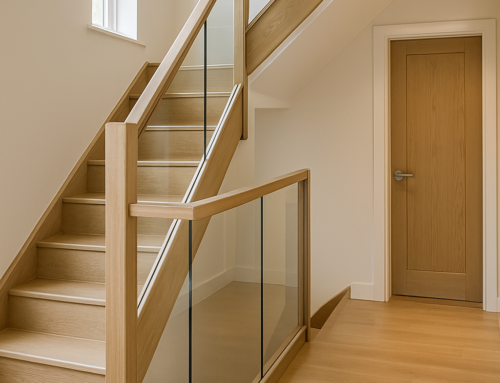
Popular Uses: Bedrooms, Offices and Rental Opportunities
One of the most common outcomes of converting a loft is creating additional bedrooms, dedicated home offices, or self-contained rental units, each of which targets different performance metrics—usable floor area (UFA) expansion, occupant productivity, or net rental yield.
You’ll typically choose a use based on cash-flow models, occupancy forecasts and marginal cost per usable square metre. Bedrooms increase market valuation via comparable-sales uplift; evidence shows a bedroom can add 8–15% to resale value in urban areas. Home offices improve occupant productivity metrics by reducing commute time and enabling ergonomic workstations, which correlates with higher long-term income stability. Rental units are assessed by yield calculations, vacancy rates and regulatory compliance. Design program selection should align with these measurable outputs and expected return-on-investment horizon.
- Bedrooms: resale uplift, UFA efficiency
- Offices: productivity, telecommute adoption rates
- Rentals: net yield, tenant turnover metrics
- Mixed-use: flexible occupancy, adaptive utilization
Monitor KPIs quarterly for accuracy.
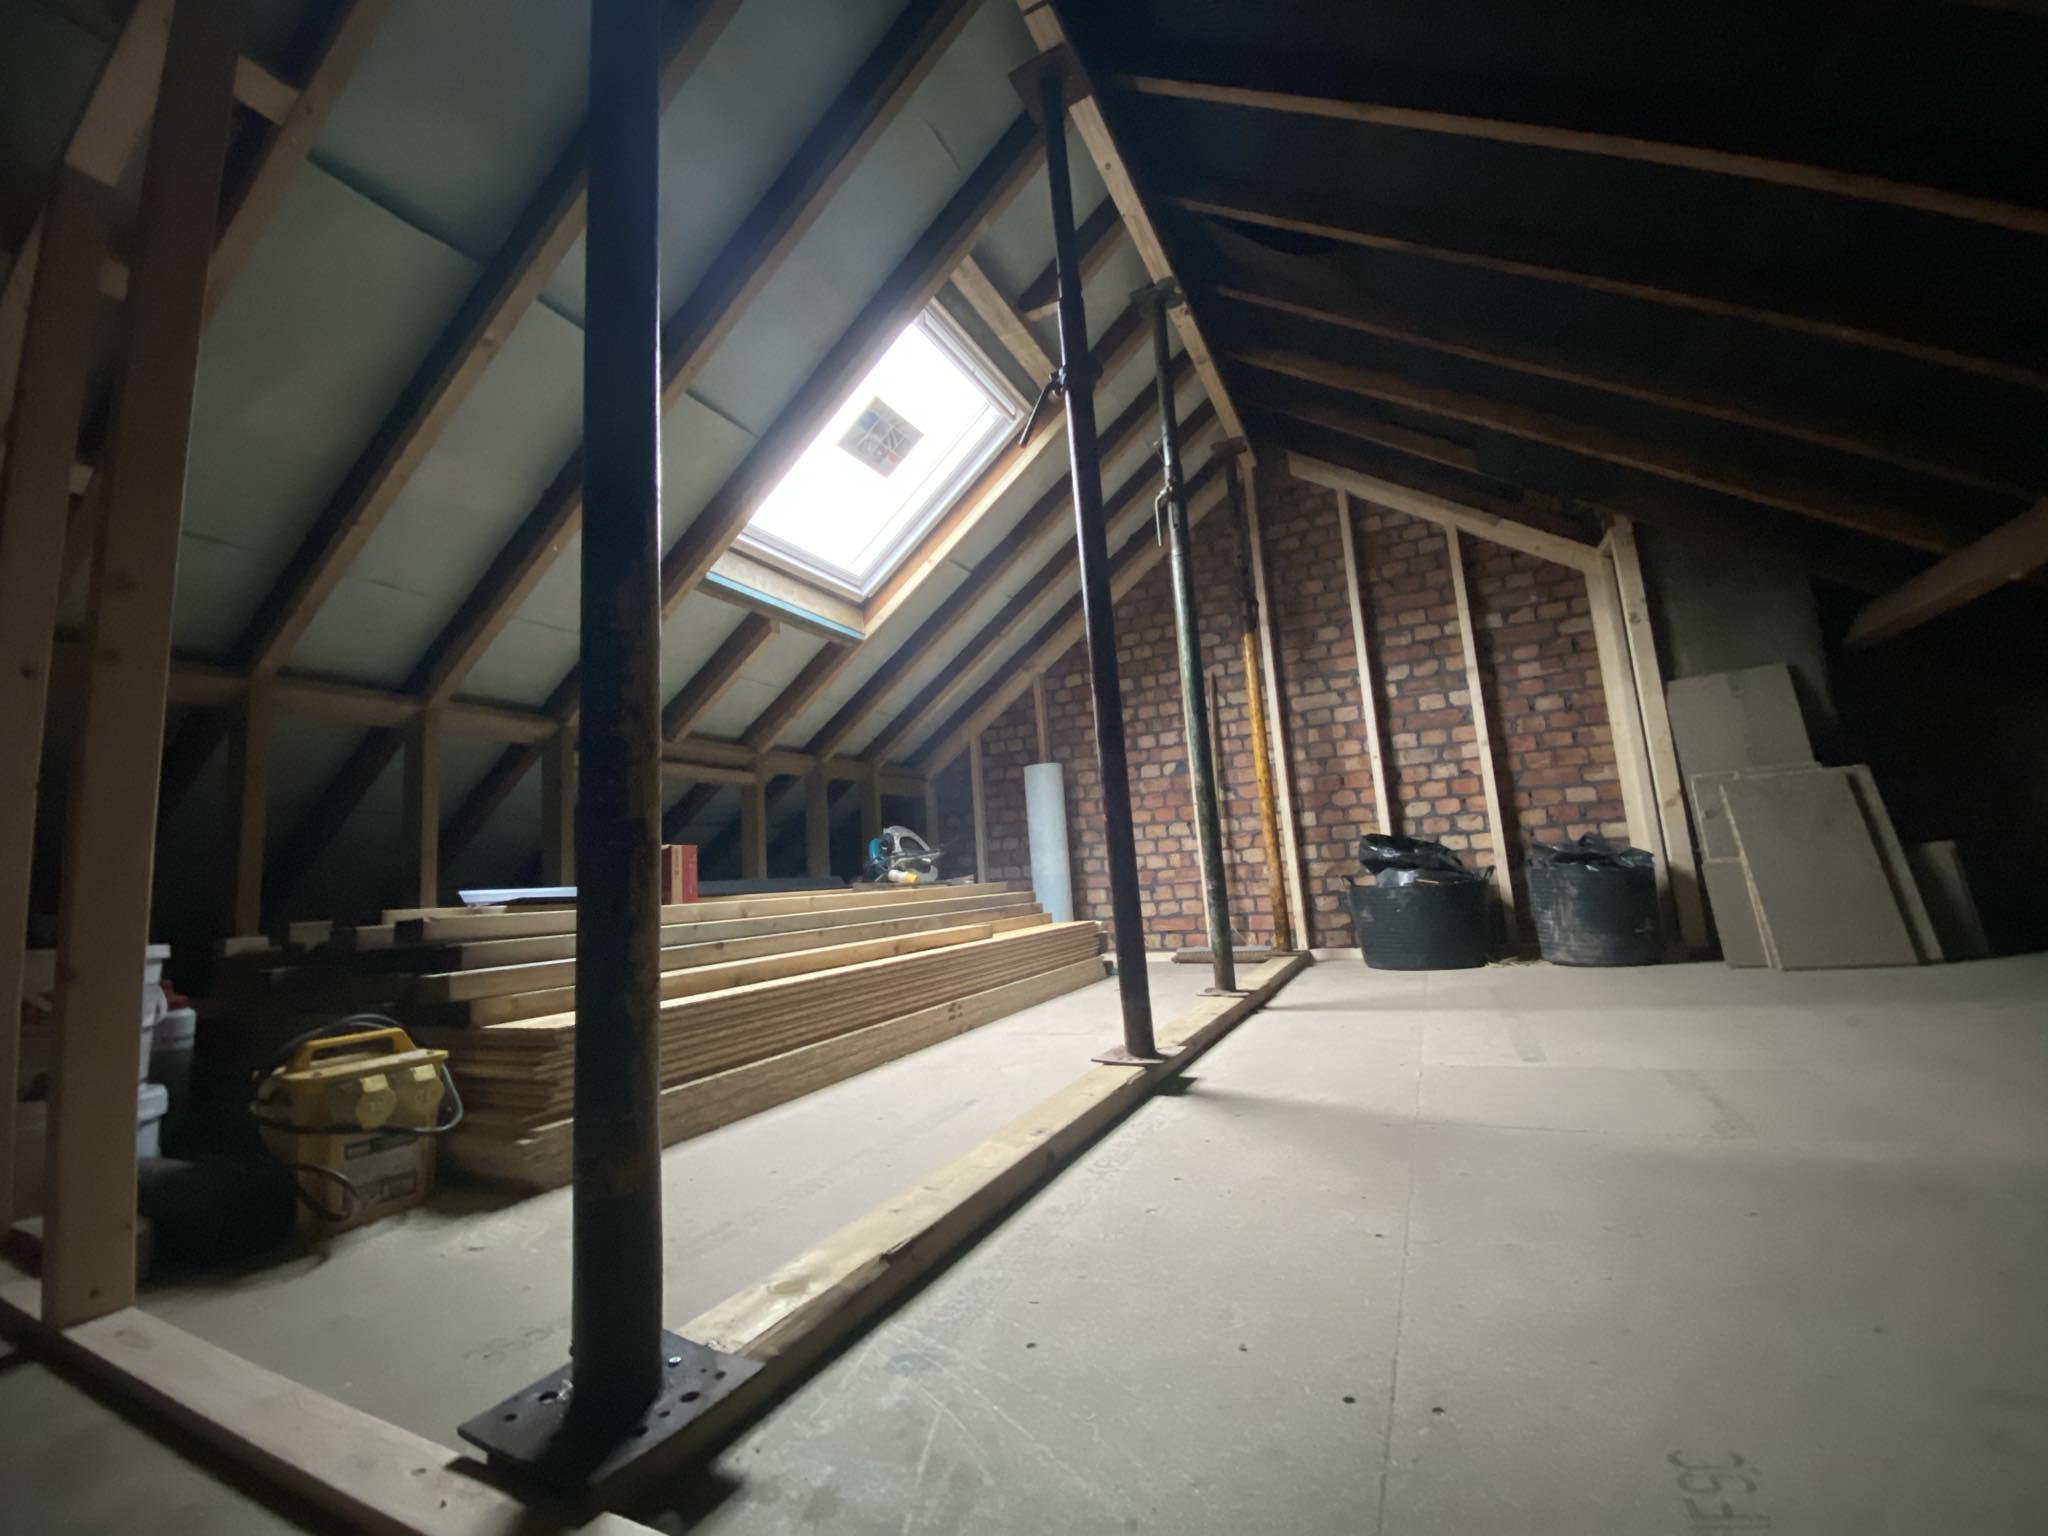
Structural and Design Considerations to Get Right
You should start with a thorough roof structure assessment—inspect rafters, spans, timber condition and geometry to determine suitability and required alterations. If the existing framing and joists can’t support the new imposed loads, you’ll need targeted load-bearing reinforcement (steel beams, upgraded timber members) sized by structural calculations. Finally, confirm thermal performance and moisture control by specifying appropriate insulation systems and mechanical or passive ventilation strategies sized to keep condensation risk within accepted limits.
Roof Structure Assessment
Several key checks are essential before approving a loft conversion: assess load-bearing capacity of existing rafters and joists, identify trussed or non-trussed roof systems that limit floor area, and inspect ridge, wall plates and party-wall connections for defects or settlement. You should commission a measured survey and structural report to quantify spans, member sizes, pitch and live/dead load capacities. Check timber condition (decay, insect attack), moisture ingress, and previous alterations that affect continuity. Verify roof geometry for dormers or mansards and lawful height limits. Use precise metrics and photographic records to support decisions.
- Span lengths and member dimensions
- Truss type and connector details
- Timber condition and moisture readings
- Roof pitch, headroom and access
You’ll base approval on quantified evidence and code compliance only promptly.
Load-Bearing Reinforcement
Having quantified spans, member sizes and timber condition in the roof survey, you’ll now establish how to carry added loft loads through continuous, code-compliant load paths to foundations. Determine imposed loads (dead, live, partition, EN 1991 values), factor in point loads from dormers and stair openings, and check existing joists and rafters for bending, shear and deflection limits using Eurocode or local standards. Where capacity is insufficient, specify reinforcement: flitch beams, steel RSJs, timber sistering or engineered LVL trimmers, with connections designed for shear transfer and lateral restraint. Verify load transfer via party wall adequacy, padstones and foundations; where required, design ground beams or underpinning. Provide detailed connection schedules, corrosion protection, construction sequencing and inspection protocols, documentation.
Insulation and Ventilation
While insulating and ventilating a loft conversion, you’ll need to balance thermal performance with moisture control and structural constraints so condensation, thermal bridging and compromised load paths are avoided. You should specify U-values, vapour control layers, and continuous insulation to meet regulations while preserving roof truss integrity. Mechanical ventilation with heat recovery (MVHR) is often preferable where airtightness is high; natural vents suffice when cavity paths and ventilation rates meet calculated ACH. Detailing at eaves, party walls and dormer junctions prevents thermal bridges and interstitial condensation. Consider insulation compression limits and fixing loads to avoid overstressing rafters.
- Calculate target U-values and placement of VCLs
- Provide ventilation rates based on occupancy and airtightness
- Detail junctions to eliminate thermal bridges
- Verify structural loads for insulation systems
Materials, Sustainability and Low-Impact Choices
Because material choices determine both the embodied carbon and long-term performance of a loft conversion, you should prioritise low-embodied-carbon products, durable assemblies and healthy indoor-air specifications from the design stage onward. Specify quantified environmental product declarations (EPDs) and life-cycle assessment (LCA) data for major elements—timber, insulation, structural steel—to compare cradle-to-gate impacts. Prefer engineered timber with third-party certification (FSC/PEFC) and low-formaldehyde wood products; select insulation with low global warming potential blowing agents and high recycled content. Use breathable membrane and vapour-control strategies validated by hygrothermal modelling to avoid interstitial condensation and prolong fabric life. Choose finishes with low volatile organic compound (VOC) emissions and certificate labels (e.g., A+ or Greenguard). Integrate durable details: stainless steel fixings, ventilated rainscreen cladding, and replaceable service cavities to reduce future demolition. Quantify payback by modelling operational energy reductions alongside embodied carbon to optimise net-zero trajectories for your conversion and meet national regulatory thresholds.
Finding and Working With Architects and Builders
After specifying low‑impact materials and hygrothermal requirements, you’ll need design and construction teams who can translate those performance targets into buildable details and verified outcomes. You should vet architects for proven hygrothermal modelling, structural competence for roof alterations, and experience with conservation or party-wall constraints. Insist on BIM or detailed CAD deliverables, thermodynamic calculations, and specification sheets that align with performance targets. For builders, prioritize contractors with demonstrated workmanship records, third‑party certifications, and on-site moisture management protocols.
- Request sample drawing sets and model exports.
- Require references with comparable envelope interventions.
- Verify insurance, certification (e.g., RIBA, NHBC), and WIP protocols.
- Agree acceptance tests: blower-door, U-value verification, and moisture readings.
Use fixed scoping documents, staged approvals, and signed defect-liability periods. You’ll reduce risk by making performance verification contractual, and by keeping a technical client representative who enforces specifications during construction and post‑occupancy monitoring protocols for accountability.
Typical Costs, Timelines and Return on Investment
A typical loft conversion will commonly cost you between £30,000 and £80,000 for a straightforward dormer and £50,000–£120,000+ for complex mansard or structural projects, with timelines from about 6–12 weeks for simple conversions up to 4–6 months for major structural or conservation-constrained jobs; these ranges reflect variations in scope (structural reinforcement, stair and floor works, M&E extensions), specification (high‑performance insulation, hygrothermal detailing, bespoke joinery), and regulatory overheads (party‑wall agreements, building-control inspections). You should expect a gross uplift in market value typically between 10% and 20% in UK urban locations, though empirical returns vary by local demand, existing property type and specification. Net return depends on project cost, VAT treatment, agents’ fees and tax implications; calculate marginal value per square metre against local comparables. Payback periods range from 5 to 15 years; shorter where rental yield is strong. Use contingency of 10–20% and valuation to validate ROI before committing.
Practical Tips to Minimise Disruption and Future-Proof Your Conversion
If you want to minimise onsite disruption and future‑proof the work, plan phasing, logistics and technical design before contractors start: sequence noisy structural works and M&E penetrations into discrete blocks, confirm scaffold, hoist and materials laydown to limit street time, and pre‑arrange temporary services and dust‑containment (negative‑pressure enclosures, sacrificial floorboards) to protect occupied spaces. You’ll set a phased programme with possessions, handover milestones and method statements; maintain register. Specify spare M&E capacity, insulated cold‑bridges and accessible service voids for retrofit. Use prefabricated structural elements to reduce onsite noisy durations and embodied‑carbon. Require contractual noise/dust monitoring, insurance-backed defect periods and payment gates tied to approvals.
- Phased programme, method statements
- Temporary services and dust containment
- Spare M&E capacity; accessible service routes
- Prefab elements; test certificates and BIM
Document decisions, keep as-built records and budget for future change to avoid rework while preserving asset value and facilitating future upgrades.
Frequently Asked Questions
Will a Loft Conversion Affect My Home Insurance Premiums?
Yes, a loft conversion can affect your home insurance premiums. You’ll need to notify your insurer because structural changes, increased rebuild cost, added fixtures and new access routes change risk profiles. Insurers may require updated valuations, specialist cover for joists, staircases, electrics and rooflights, or charge higher premiums. Obtaining written confirmation and comparing quotes after completion minimizes gaps in cover and avoids claims being declined and protects your claim validity.
Do Loft Conversions Need Special Fire Safety Certification or Inspections?
Yes, loft conversions normally require fire safety inspections and Building Regulations approval. You’ll need demonstrated compliance with means of escape, fire‑resistant separation, escape window dimensions, smoke detection, and protected stair enclosures. Local building control conducts site inspections and issues a completion certificate if compliant; a third‑party fire engineer may be required for complex designs. Keep documentary evidence; insurers and future conveyancing will expect certified compliance and check local authority variations.
How Will a Loft Conversion Impact Mobile Signal and Broadband Performance?
A loft conversion can degrade both mobile signal and wired broadband if dense materials or new layouts obstruct antennas or increase cable lengths. You’ll typically see weaker cellular RSSI, potential dropouts, and higher Wi‑Fi attenuation through added insulation or metalwork. Mitigations include relocating external antennas, installing wired backhaul (Ethernet), mesh Wi‑Fi, or a small cellular repeater. Have a site RF and network survey to quantify expected loss and ideal mitigation.
Can I Convert a Loft in a Listed or Conservation-Area Property?
Yes, you can sometimes convert a loft in a listed or conservation-area property, but you’ll need listed-building consent or conservation-area planning permission depending on status. Survey historical fabric, prepare measured drawings, and propose reversible interventions using matching materials. Local authority and heritage officer approval is required; expect conditions, restrictions on roofline, windows, insulation and structural works. Engage conservation-accredited architect and submit heritage impact assessment to increase approval likelihood of success.
What Happens to Roof Warranties and Guttering After Conversion?
Your roof warranty may be voided or limited if structural alterations or contractors not approved by the warranty provider are involved; you’ll need written confirmation from the insurer or manufacturer before starting work. Guttering often needs rerouting or reinforcement; verify new connections use compatible materials and comply with building regs. Retain documentation of works, warranties and certificates (e.g. structural calculations, building control) promptly to preserve or negotiate warranty coverage post-conversion.