
Your full home refurbishment will span several months, with each phase adding time based on scope, approvals, and coordination. Start with planning and permits, define scope and budget, and lock in a realistic schedule. Demolition, structural upgrades, framing, rough-ins, drywall, finishes, and fixtures each carry distinct timelines. Coordination, inspections, and snag fixes extend the process, with buffers for high‑risk areas. If you keep going, you’ll uncover how to optimize pace without compromising quality and safety.
Key Takeaways
- Planning and permitting set the baseline, often consuming 4–12 weeks before any physical work begins.
- Demolition and site prep typically take 1–3 weeks, depending on size and debris handling requirements.
- Structural upgrades, utilities, and rough-ins usually span 4–12 weeks, influenced by complexity and inspections.
- Framing, finishes, and systems install can add 6–20 weeks, driven by scope, material lead times, and coordination.
- Inspections, snagging, and handover commonly require 2–6 weeks, factoring permit rechecks and punch lists.
Planning and Permits
Planning and permits set the baseline for any renovation. You’ll map requirements early, avoiding later delays. Start with a project brief, then confirm which permits your project actually needs: building, electrical, plumbing, mechanical, and any zoning or HOA approvals. Local authorities typically review plans for code compliance, safety, and site impact, and review times vary widely. You should expect a planning phase that includes drawings, specifications, and a permit checklist, plus potential revisions after feedback. Budget for permit fees, inspection costs, and possible rework if inspectors flag issues. Build a realistic timeline by aligning permit queues with your construction schedule, and factor in lead times for materials and subcontractor availability. Obtain all required approvals before breaking ground; simultaneous tasks can waste time if dependencies aren’t clear. By clarifying responsibilities, communication channels, and submission deadlines, you minimize back-and-forth and set predictable milestones. This upfront work reduces surprises later dramatically.
Defining Scope and Budget
To define your project scope, start by listing what’s in and out, then map it to your budget and timeline. Budgeting essentials mean setting a realistic cost baseline, establishing contingencies, and identifying funding sources early. Trade-offs and phasing help you align priorities with constraints, pin down where you’ll phase work, and communicate changes as you refine scope.
Determine Project Scope
Once you define the project scope, you set clear boundaries for what’s included and what isn’t, and pin down the budget that will guide decisions; this establishes measurable goals, aligns stakeholders, and helps prevent scope creep. Translate those boundaries into a formal scope statement with deliverables, phases, and acceptance criteria. List exclusions to avoid ambiguity, and spell out constraints and assumptions—permits, access, and sequencing. Identify dependencies and required resources, then tie milestones to a practical timeline. Establish a change-control process to evaluate requests before they alter the plan, and assign clear responsibilities for decision-making. Baseline the scope, monitor progress against it, and adjust only through formal, approved changes to keep the project focused and predictable. That discipline reduces risk and speeds informed choices overall.
Budgeting Essentials
As you define the project scope, you also set the budget boundaries, linking what’s included to the resources you’ll need and the costs you’ll incur.
Budgeting Essentials focuses on defining cost drivers, estimating contingencies, and aligning funding with milestones. You map line items to activities, ensuring each expense has a purpose. Identify fixed costs, variable costs, and potential overruns, then attach confidence levels and timelines. Create a baseline forecast that reflects scope as understood, not as imagined, so you can track deviations precisely. Prioritize transparency with stakeholders by documenting assumptions, payment schedules, and approval gates. Regular reviews fuel early detection of scope creep and misaligned priorities. By isolating costs early, you preserve flexibility for timing decisions while maintaining accountability for the full refurbishment timeline.
Trade-Offs and Phasing
Balancing want versus capability comes next, using defined trade-offs and phased execution to control scope and budget. You’ll map priorities against reality, identifying must-haves, nice-to-haves, and nonessential items. Trade-offs force choices: you may swap materials, delay rooms, or adjust finishes to keep projects within cost and time limits. Phasing breaks the work into manageable blocks, reducing disruption and enabling cash flow planning. Start with a core scope, then lock milestones and decision points, so scope creep doesn’t derail schedules. Communicate changes promptly, documenting rationale and updated budgets. Track progress against baselines, adapting only when impact is acceptable. This discipline safeguards timelines, preserves quality, and preserves future flexibility for adjustments as design and permits evolve. You gain clarity, control, and confidence through disciplined planning today.
Demolition and Site Preparation
First, you’ll secure the required permits and define the demolition scope to avoid scope creep. Then you establish a demolition plan that minimizes dust, noise, and debris while maximizing safety. You’ll align site access, waste containment, and utility disconnections with local regulations, and document approvals before work begins. Next, you implement hazard controls, temporary barriers, and clear signage to protect occupants and workers, and you schedule inspections at key milestones to prevent rework. The aim is to create a tight, auditable sequence that reduces downtime and accelerates subsequent trades. This approach safeguards timelines and budget by reducing risk.
| Phase | Focus |
|---|---|
| Permits | Compliance and approvals |
| Site Prep | Debris containment and safety measures |
| Validation | Readiness verification |
Structural Upgrades and Systems
To prep for structural upgrades, you assess foundation and loads to determine necessary reinforcements and load paths. You’ll plan electrical and plumbing upgrades in parallel, ensuring new layouts fit without compromising safety or access. Finally, you review framing and structural steel options to support the updated loads, scheduling fabrications and installations to minimize disruption.
Foundation and Loads
Begin with a thorough assessment of foundation condition, load paths, and soil reliability to determine required structural upgrades and system integration. You map existing reinforcement, crack patterns, moisture, and settlement indicators, then quantify loads from walls, floors, and roof. This informs whether underpinning, beam replacements, or tie-ins to new framing are needed. You assess soil permeability, bearing capacity, and drainage to prevent future movement.
With the findings, you sequence the work: preventive shoring, temporary support during lifts, and coordinated integration with mechanical and envelope trades. You estimate durations for surveys, design revisions, permit reviews, and contractor mobilization. Your plan emphasizes risk mitigation, clear interfaces, and measurable milestones. This approach reduces surprises and keeps your project on track. Clarity early saves time and cost overall.
Electrical and Plumbing Upgrades
With the foundation and loads clarified, you align electrical and plumbing upgrades to the structural framework and planned system interfaces. You map circuits to rooms, plan load distribution, and select outlets, switches, and smart controls that fit your daily routines. You coordinate water supply and drainage paths with existing walls and cabinets, note code requirements, and budget for permits. Safety and reliability drive your sequencing: panel upgrades, grounding, arc fault protection, and leak detection integration.
You balance speed with accuracy, sequencing electrical and plumbing tasks to minimize reuse of space and disruption. You document changes for inspections, coordinate with trades, and verify system interfaces before drywall. By design, upgrades stay aligned with future accessibility and maintenance without delaying framing or steel work. Crew readiness.
Framing and Structural Steel
Framing and structural steel establish the project’s skeleton, so you assess loads, align members to the planned layouts, and plan connections and anchorage early.
- Verify load paths and design loads to prevent future failures
- Coordinate steel sizing with carpentry, MEPs, and foundations
- Detail connections, anchors, and stiffeners for rigidity
- Schedule inspections and material deliveries to avoid delays
You’ll sequence steel installation with framing milestones to minimize rework and guarantee bearing points. Early coordination reduces change orders and keeps estimates on target. Expect temporary shoring and careful sequencing around existing structures. Documentation matters, so keep specs, weld schedules, and coating requirements accessible for trades. When the frame is plumb and square, you gain a solid base for each system upgrade, driving pace without sacrificing safety.
Framing, Rough-In, and Utilities
Although timelines vary by project, framing, rough-in, and utilities mark the shift from shell to systems, defining the skeleton that will support everything else. You’ll plan framing to establish room sizes, door openings, and load paths, then move to rough-in where electricians and plumbers sketch routes and clearances. Utilities coordination follows, aligning HVAC, electrical, and plumbing with structural constraints and future finishes. Inspections windows tighten pace, but proactive coordination minimizes rework.
| Phase | Focus | Typical Duration |
|---|---|---|
| Framing | Establish skeleton, room sizes, openings | 3–7 days |
| Rough-In | Route electrical/plumbing, set clearances | 5–14 days |
| Utilities Coordination | Align systems with structure | 2–5 days |
| Inspections Prep | Final checks prior to closures | 1–2 days |
During this phase you’ll document hangers, fasteners, water lines, and conduit locations to prevent clashes with framing, cabinetry, and future fixtures. Patience here saves days later, because routing errors compound as finishes arrive. Keep a single source of truth for drawings, schedules, and permit logos to stay aligned. By the end of this subphase, you’ll confirm clearances, service trenches, and riser locations, then hand off to next stage with confidence. Accurate planning now reduces risk and cost.
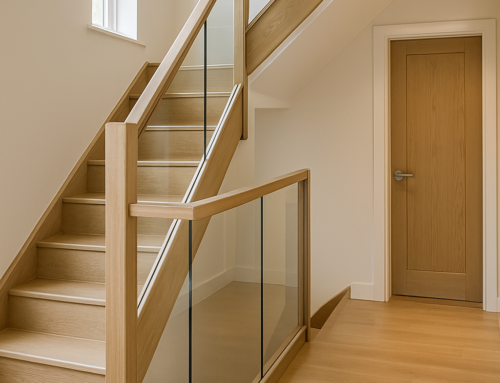
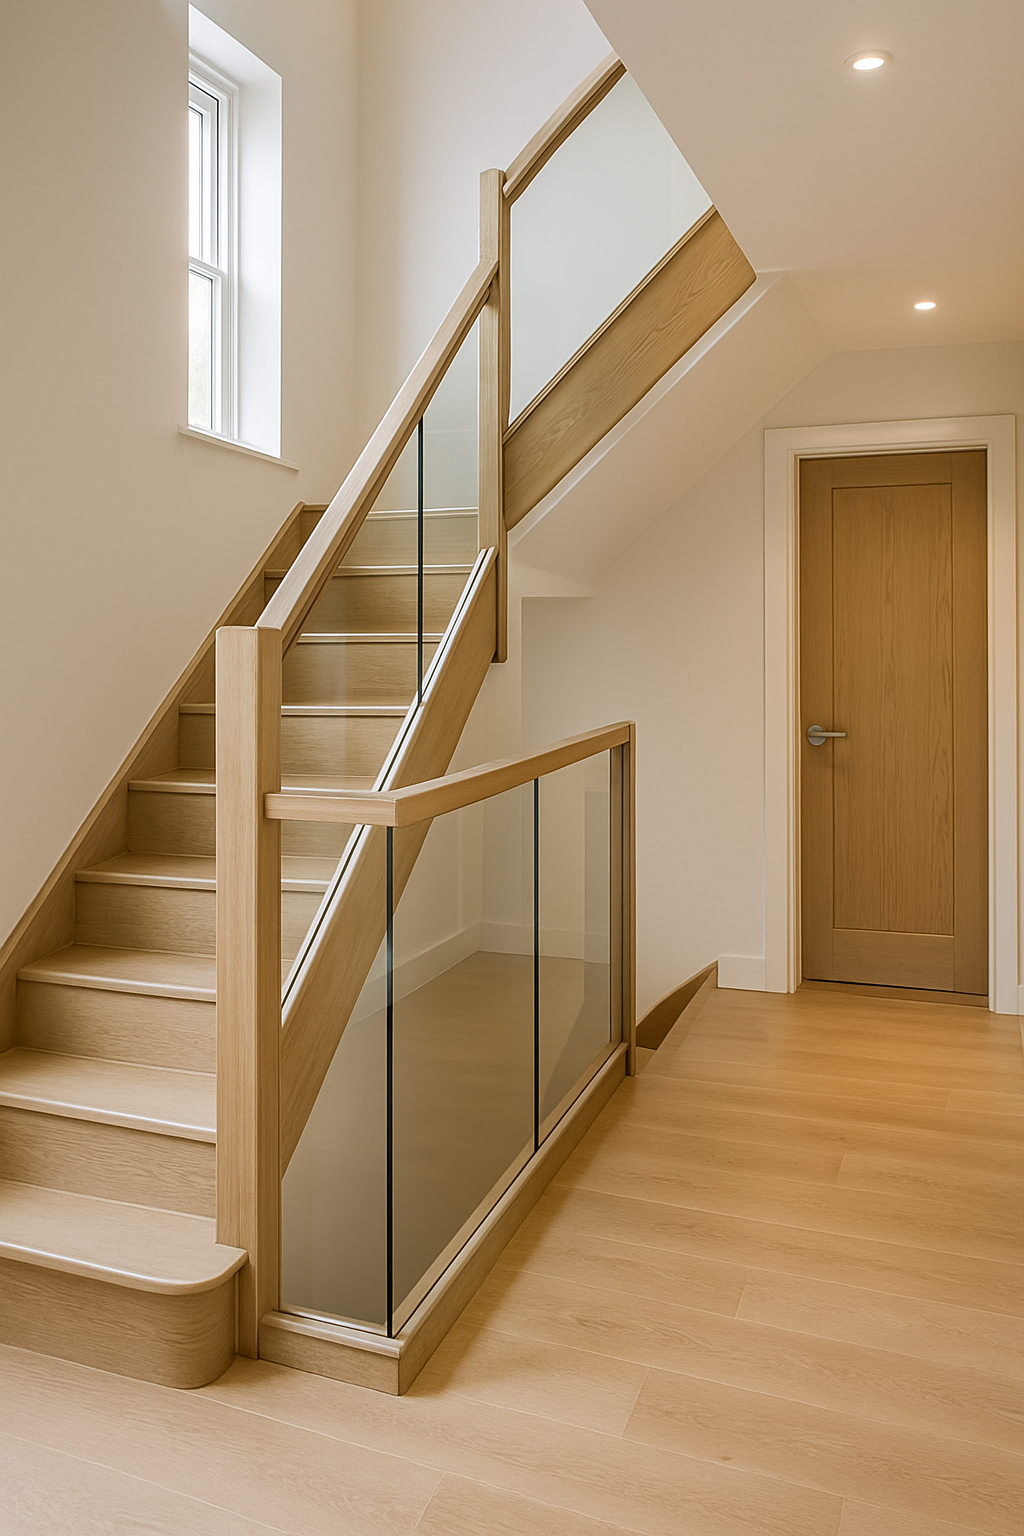
Drywall, Finishes, and Interior Fixtures
Now that framing, rough-in, and utilities are in place, drywall, finishes, and interior fixtures turn the project from skeleton to lived space. Drywall transforms walls from framing to rooms you can inhabit, while finishes define tone and durability. You’ll select textures, colors, and lighting that support function and flow. Execution hinges on accurate measurements, clean seams, and consistent mudding, taping, and sanding. Interior fixtures—from cabinets to faucets—bind utility to daily use, so you install once with precision to avoid revisits. This phase revolves around accuracy, cleanliness, and coordination throughout.
- Material selection, such as drywall type, finish level, and acoustic considerations, drives installation speed and finish quality, influencing dust management and aftercare.
- Primer and paint choices affect drying times, sheen, and touchups, so you plan coats, ventilation, and cleanup windows to avoid rework.
- Cabinetry, fixtures, and hardware placement require precise measurements and level lines to guarantee doors align, drawers glide, and plumbing aligns.
- Finishing details like, trim, outlets, switches, and backings finalize electrical planning and conceal gaps, creating a cohesive, polished look.
Scheduling, Coordination, and Potential Delays
To keep the project on schedule, you must align trade scopes, sequencing, and decision windows, because delays in one area cascade into the next. Effective scheduling hinges on clear contracts, upfront lead times, and defined decision points. You map trades to minimize overlaps and idle time, then build buffers where risks are high. Coordination requires shared calendars, daily check-ins, and a single source of truth for change requests. When trades depend on others, you sequence work so early tasks lay groundwork for later ones without creating bottlenecks. You should quantify risks, monitor lead times, and set alert thresholds for missed milestones. Delays often stem from late material arrivals, weather, or scope creep; your plan allocates contingency and communicates impact quickly. Proactive communication with suppliers, subcontractors, and clients reduces surprises and preserves momentum. Review schedules weekly, document changes, and verify that all parties sign revised baselines promptly at once.
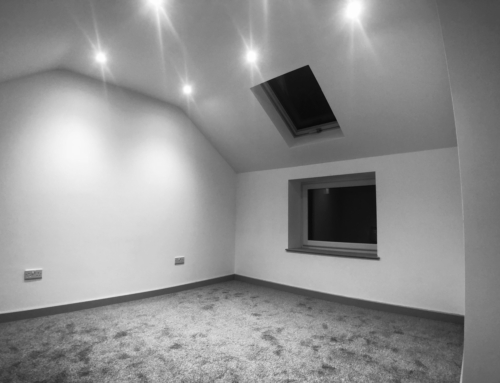
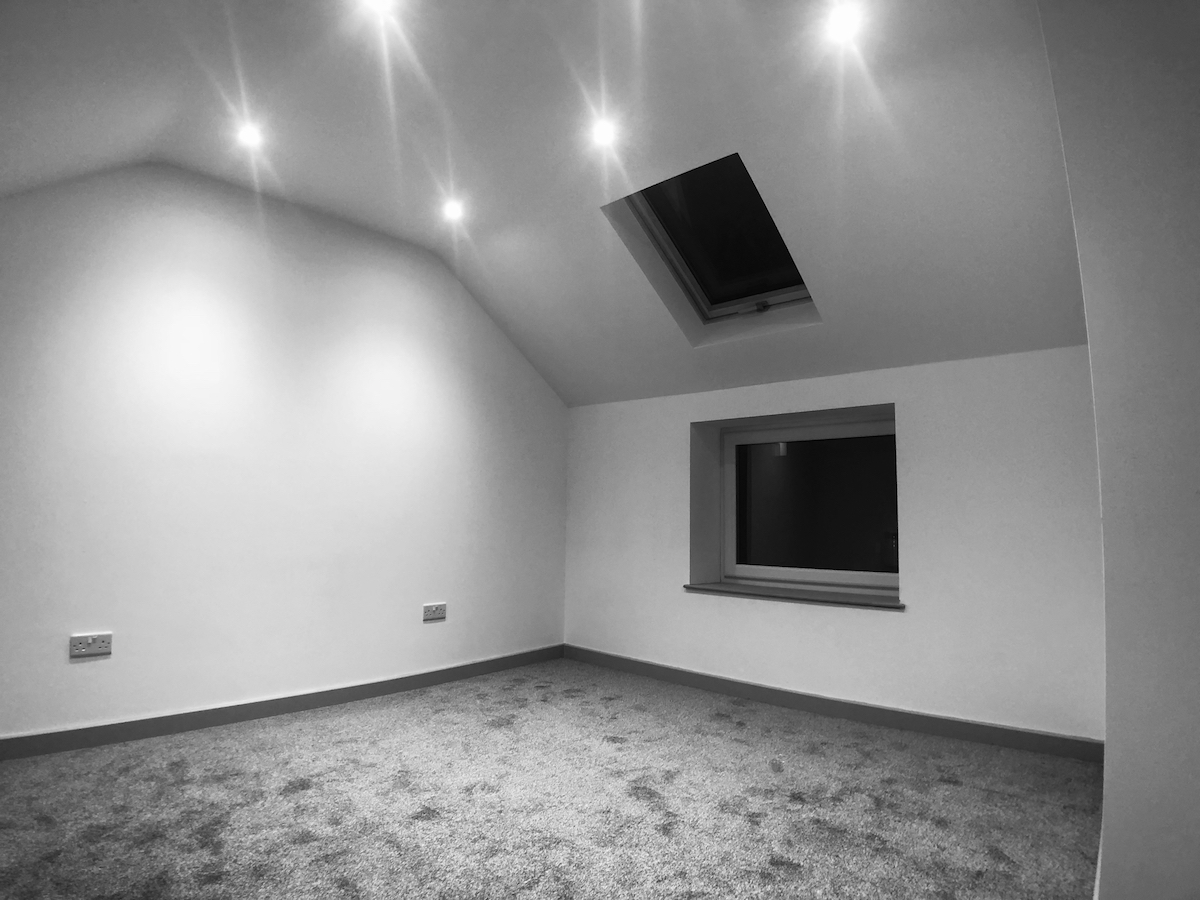
Inspections, Final Touches, and Handover
Inspections, final touches, and handover wrap up the project by validating quality, confirming conformity to the specs, and transferring responsibility to you.
- Verify installations meet code and warranty requirements, documenting any deviations for future reference.
- Test systems, such as electrical, plumbing, and HVAC, guaranteeing safe operation and efficiency.
- Address snag list items promptly, prioritizing safety, function, and finish quality.
- Handover documentation is prepared, including warranties, manuals, permits, and as‑built drawings for your records.
In practice, you review criteria against the brief, confirm finishes match approved samples, and guarantee contractor commitments are fulfilled before sign-off. The goal is a clean changeover: you assume responsibility, while the project team closes accounts, transfers warranties, and archives permits. Keep a record of final costs, timelines, and any remaining issues for post‑handover support. If gaps exist, schedule quick remedial visits to avoid disputes and preserve trust. That guarantees a confident, smooth changeover ahead.
Frequently Asked Questions
What Is the Average Final Cost per Square Foot?
Phoenix of costs, you’ll spend about $120 to $300 per sq ft, depending on finishes. In planning, you compare midrange fixtures against luxury upgrades, weigh labor, permits, and site conditions. Your final number hinges on scope, material choices, and regional rates. Track contingencies, ask for itemized bids, and adjust expectations. You’ll gain clarity when you map costs to phases, not just overall totals, letting you steer the project with confidence.
How Do Design Trends Impact Refurbishment Timelines?
Design trends influence refurbishment timelines by shaping material availability, customization needs, and approval processes. When trends rely on off-the-shelf options, timelines shorten because standard products are easier to source. If trends demand bespoke finishes, unique fixtures, or custom cabinetry, procurement slows, and permit reviews may extend timelines. Fast-paced trends also tighten scheduling buffers, increasing clash risks between trades. You can mitigate delays by choosing adaptable, available styles and scheduling fabrications.
Can Renovations Happen While You Still Live in the Home?
Yes, renovations can happen while you still live in the home. You’ll need careful planning, clear boundaries, and safety measures. Expect dust, noise, and restricted access in work zones, plus temporary kitchens or bathrooms. Schedule critical tasks during off hours and protect valuables. Maintain a flexible routine, communicate updates, and set a realistic budget for contingencies. If homeowners’ associations or leases restrict work, verify rules beforehand, and adjust plans accordingly.
How Are Unforeseen Structural Issues Handled Mid-Project?
Unforeseen structural issues are handled with a built-in contingency plan: you pause affected work, hire a licensed pro for quick assessment, and revise the schedule and budget before resuming. You document findings, obtain permits if needed, and adjust timelines with stakeholders. Prioritizing safety, you red-tag unsafe areas and implement shoring or supports. Clear communication, updated cost estimates, and phased milestones help you proceed confidently while minimizing delays and avoiding surprises.
What Are Long-Term Maintenance Costs After Completion?
Like a drumbeat after the fireworks, long-term maintenance costs after completion vary, but you should expect ongoing expenses for systems, wear items, and occasional upgrades. You’ll budget for yearly upkeep, inspections, and surprise repairs, averaging a few thousand dollars depending on home age and climate. You keep your home reliable, not reactive, turning planning into savings rather than stress. Document receipts, schedule service, and adjust reserves annually as conditions shift.


